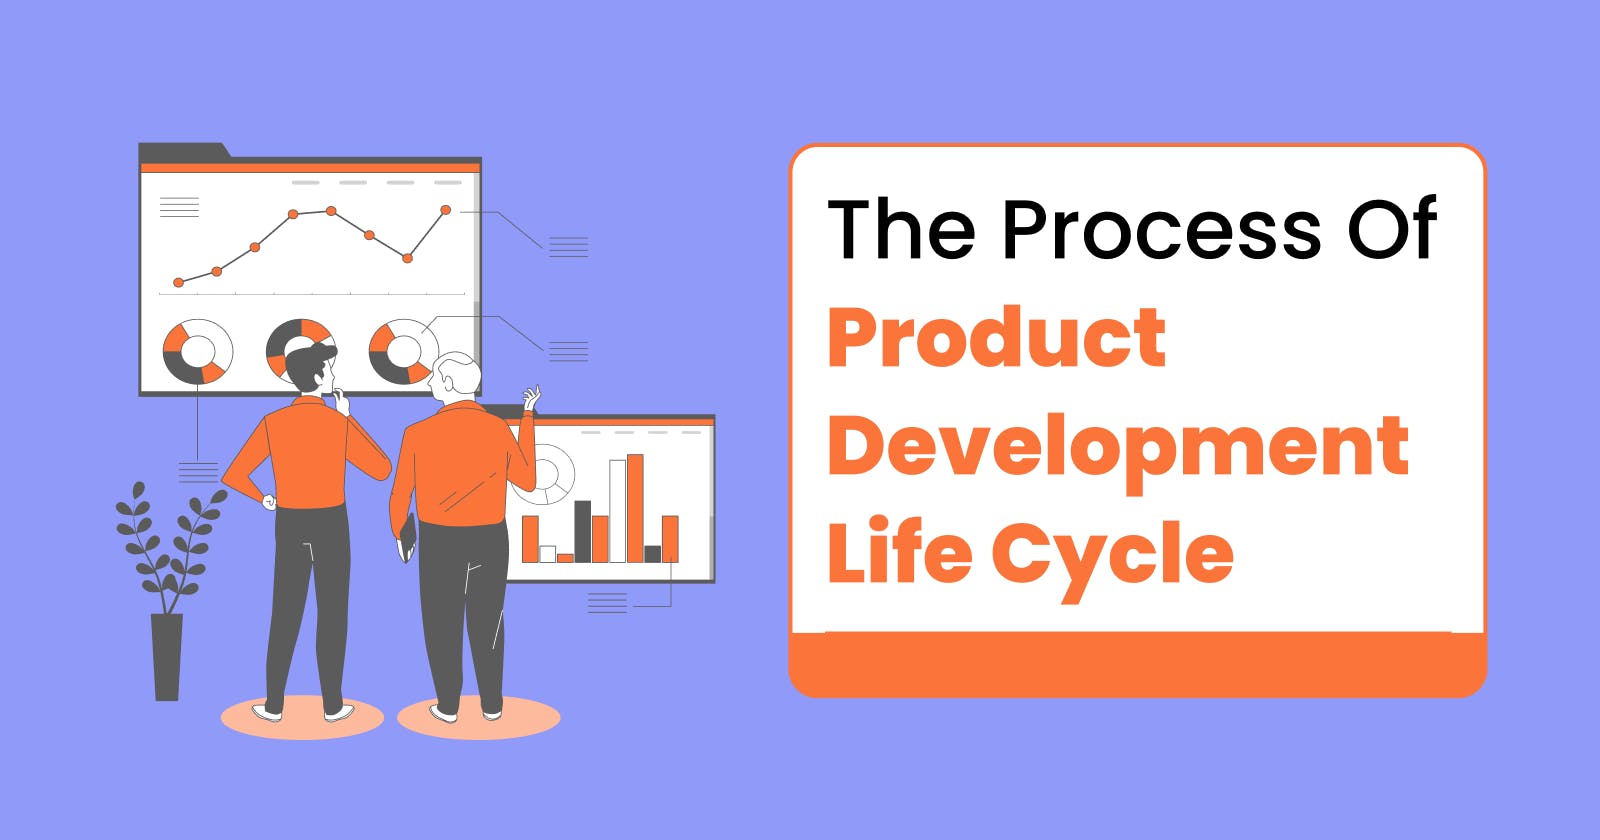
The Step By Step Process Of Product Development Life Cycle: A Practical Guide


The product development life cycle refers to the process of creating a product from start to finish. The goal of this process is to create a product that meets the user's needs and is easy to use. The process usually involves several steps, including defining the problem, identifying solutions, analyzing the competition and market demand, selecting user personas, creating a sitemap and information architecture, designing the user flow and journey, creating wireframes and prototypes, converting wireframes into an actual design, developing the product, testing it, and launching it. By going through each of these steps, you can ensure that your product is designed with the user in mind and meets their needs, resulting in a high-quality, usable product.
Hello everyone, I'm Md Arfan Khan, A Professional UI/UX designer and Web developer. In this article, I will be discussing the various stages of the product development life cycle and providing real-life examples to help illustrate each point.
1. Define the problems and your goal:
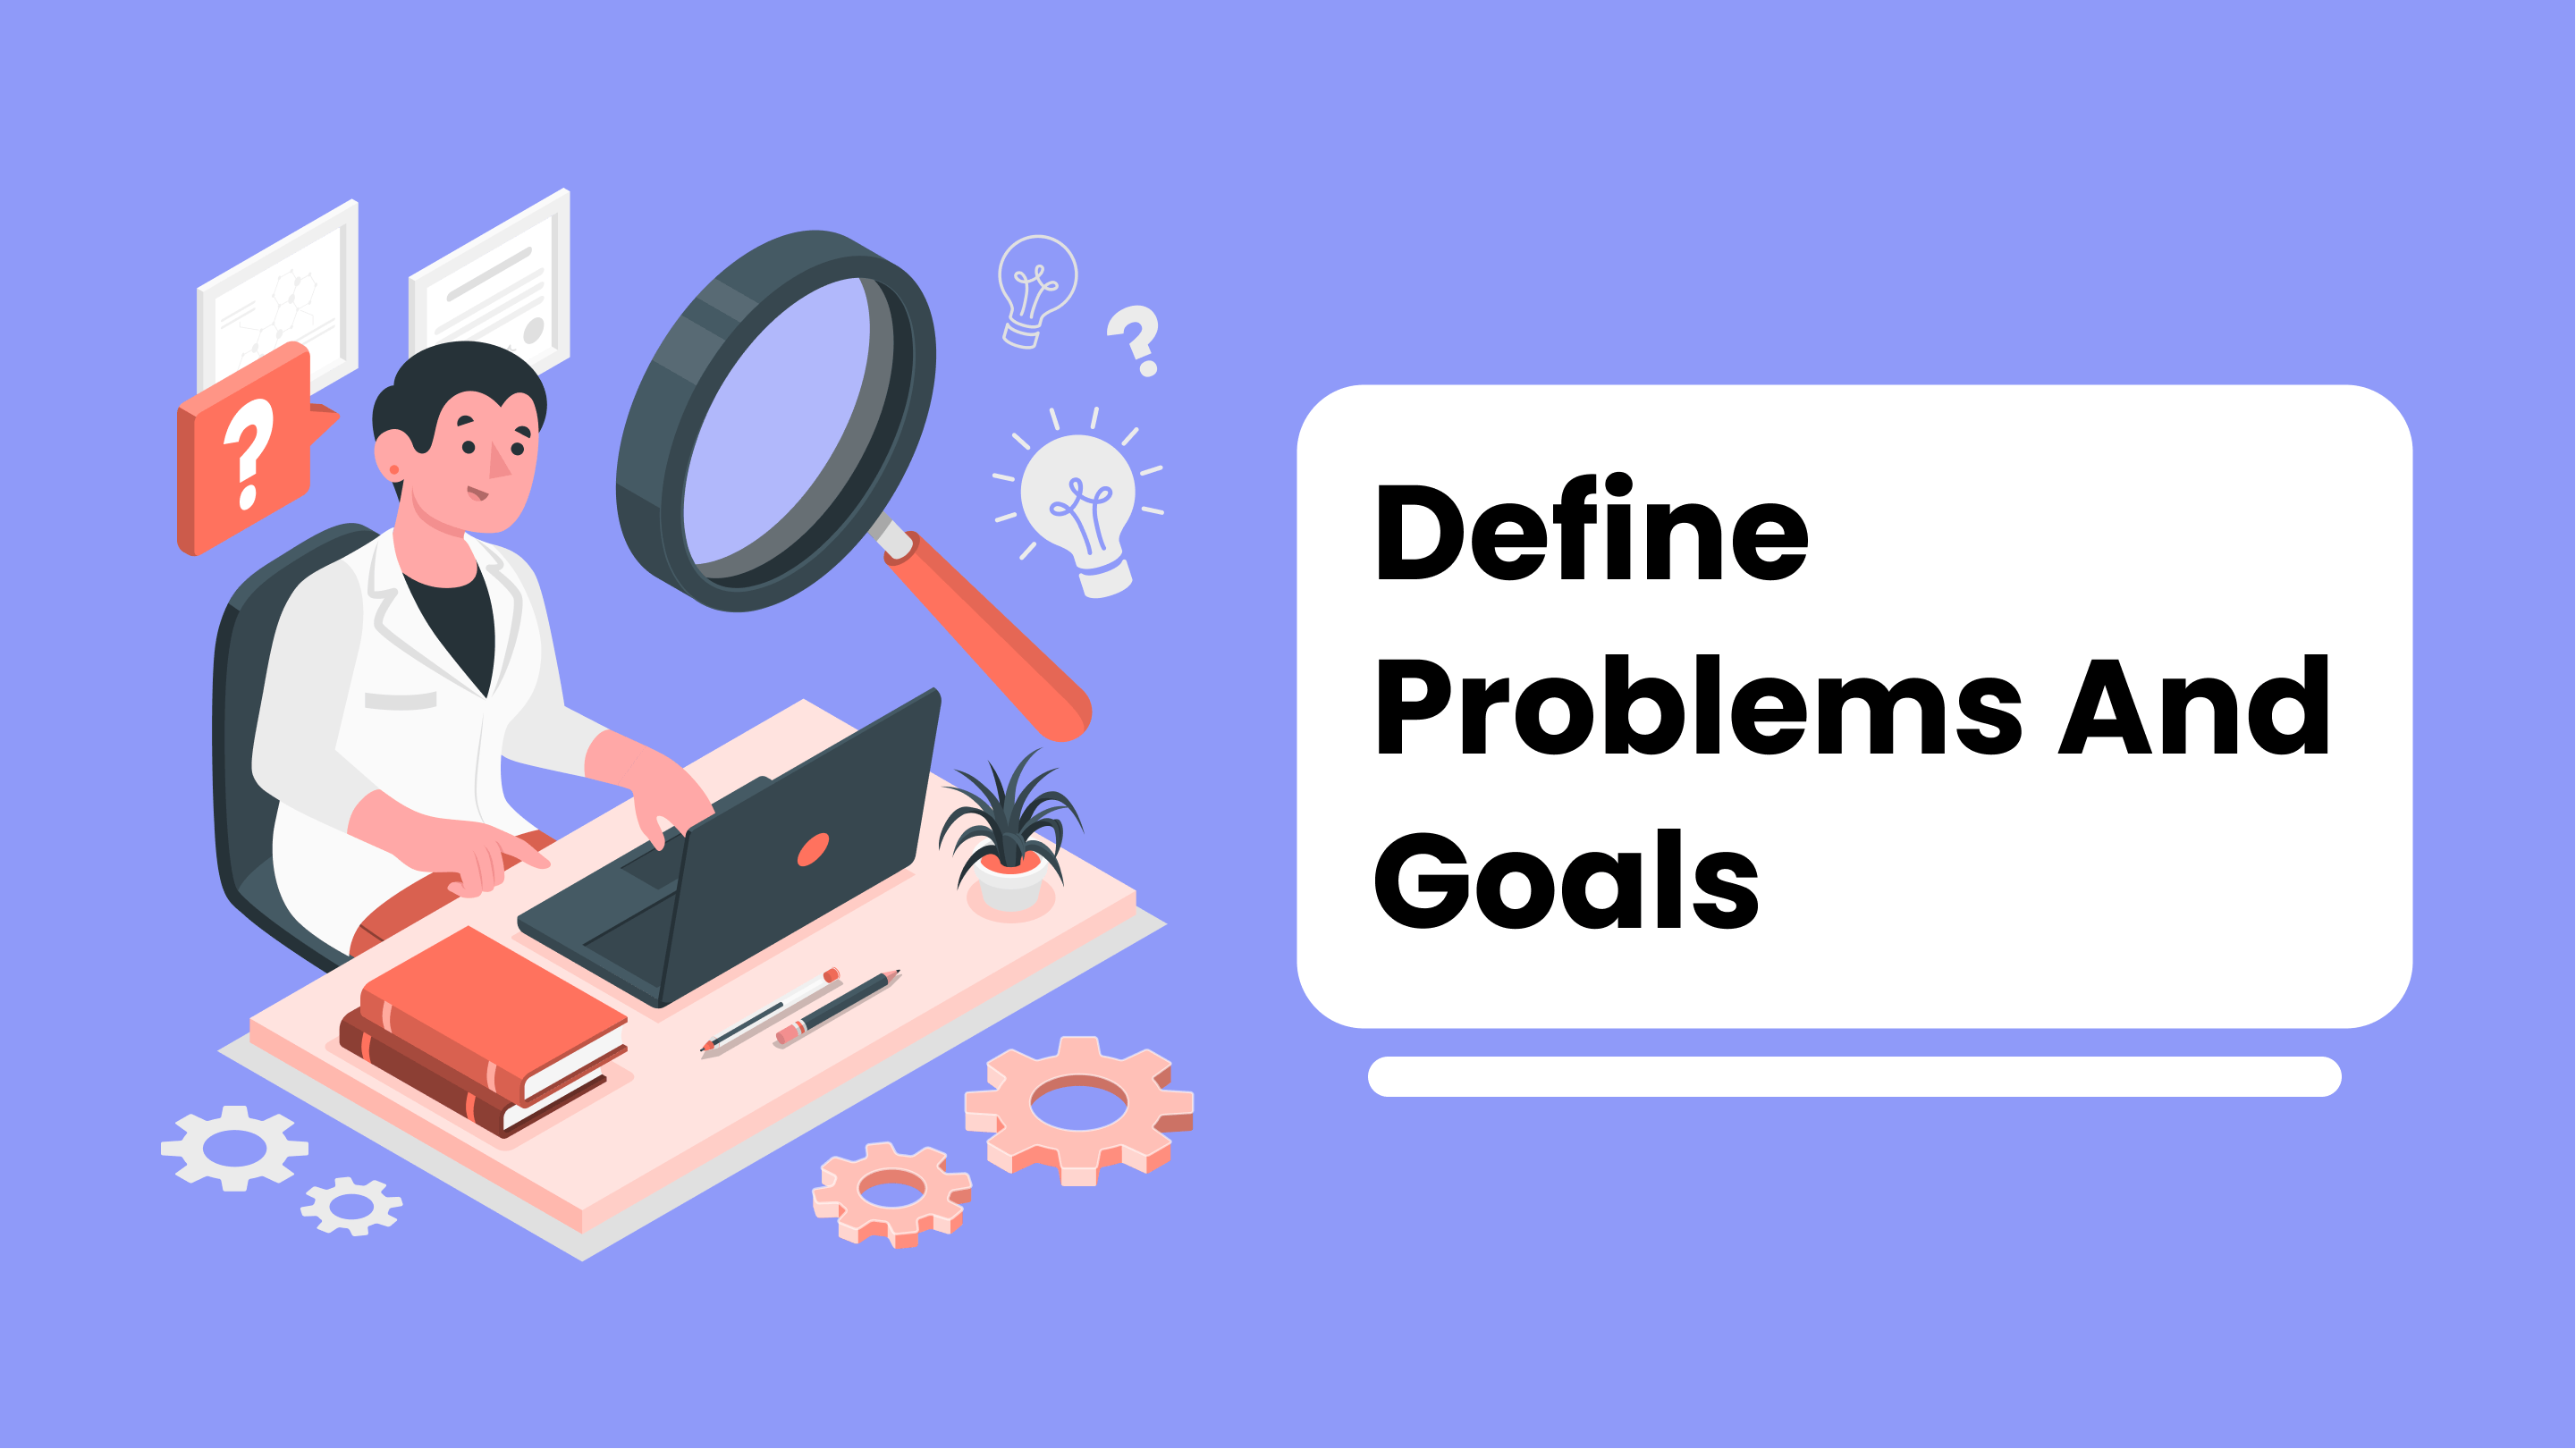
The first step in developing a digital product is to clearly define the problem you are trying to solve and what your overall goal is. This helps you stay focused and ensures that your efforts are aligned with your desired outcome.
Example: Let's say you are developing a mobile banking app, your goal may be to create an easy-to-use platform for customers to access their account information, make payments, and transfer funds.
2. Identify the solutions with business opportunities and user needs:
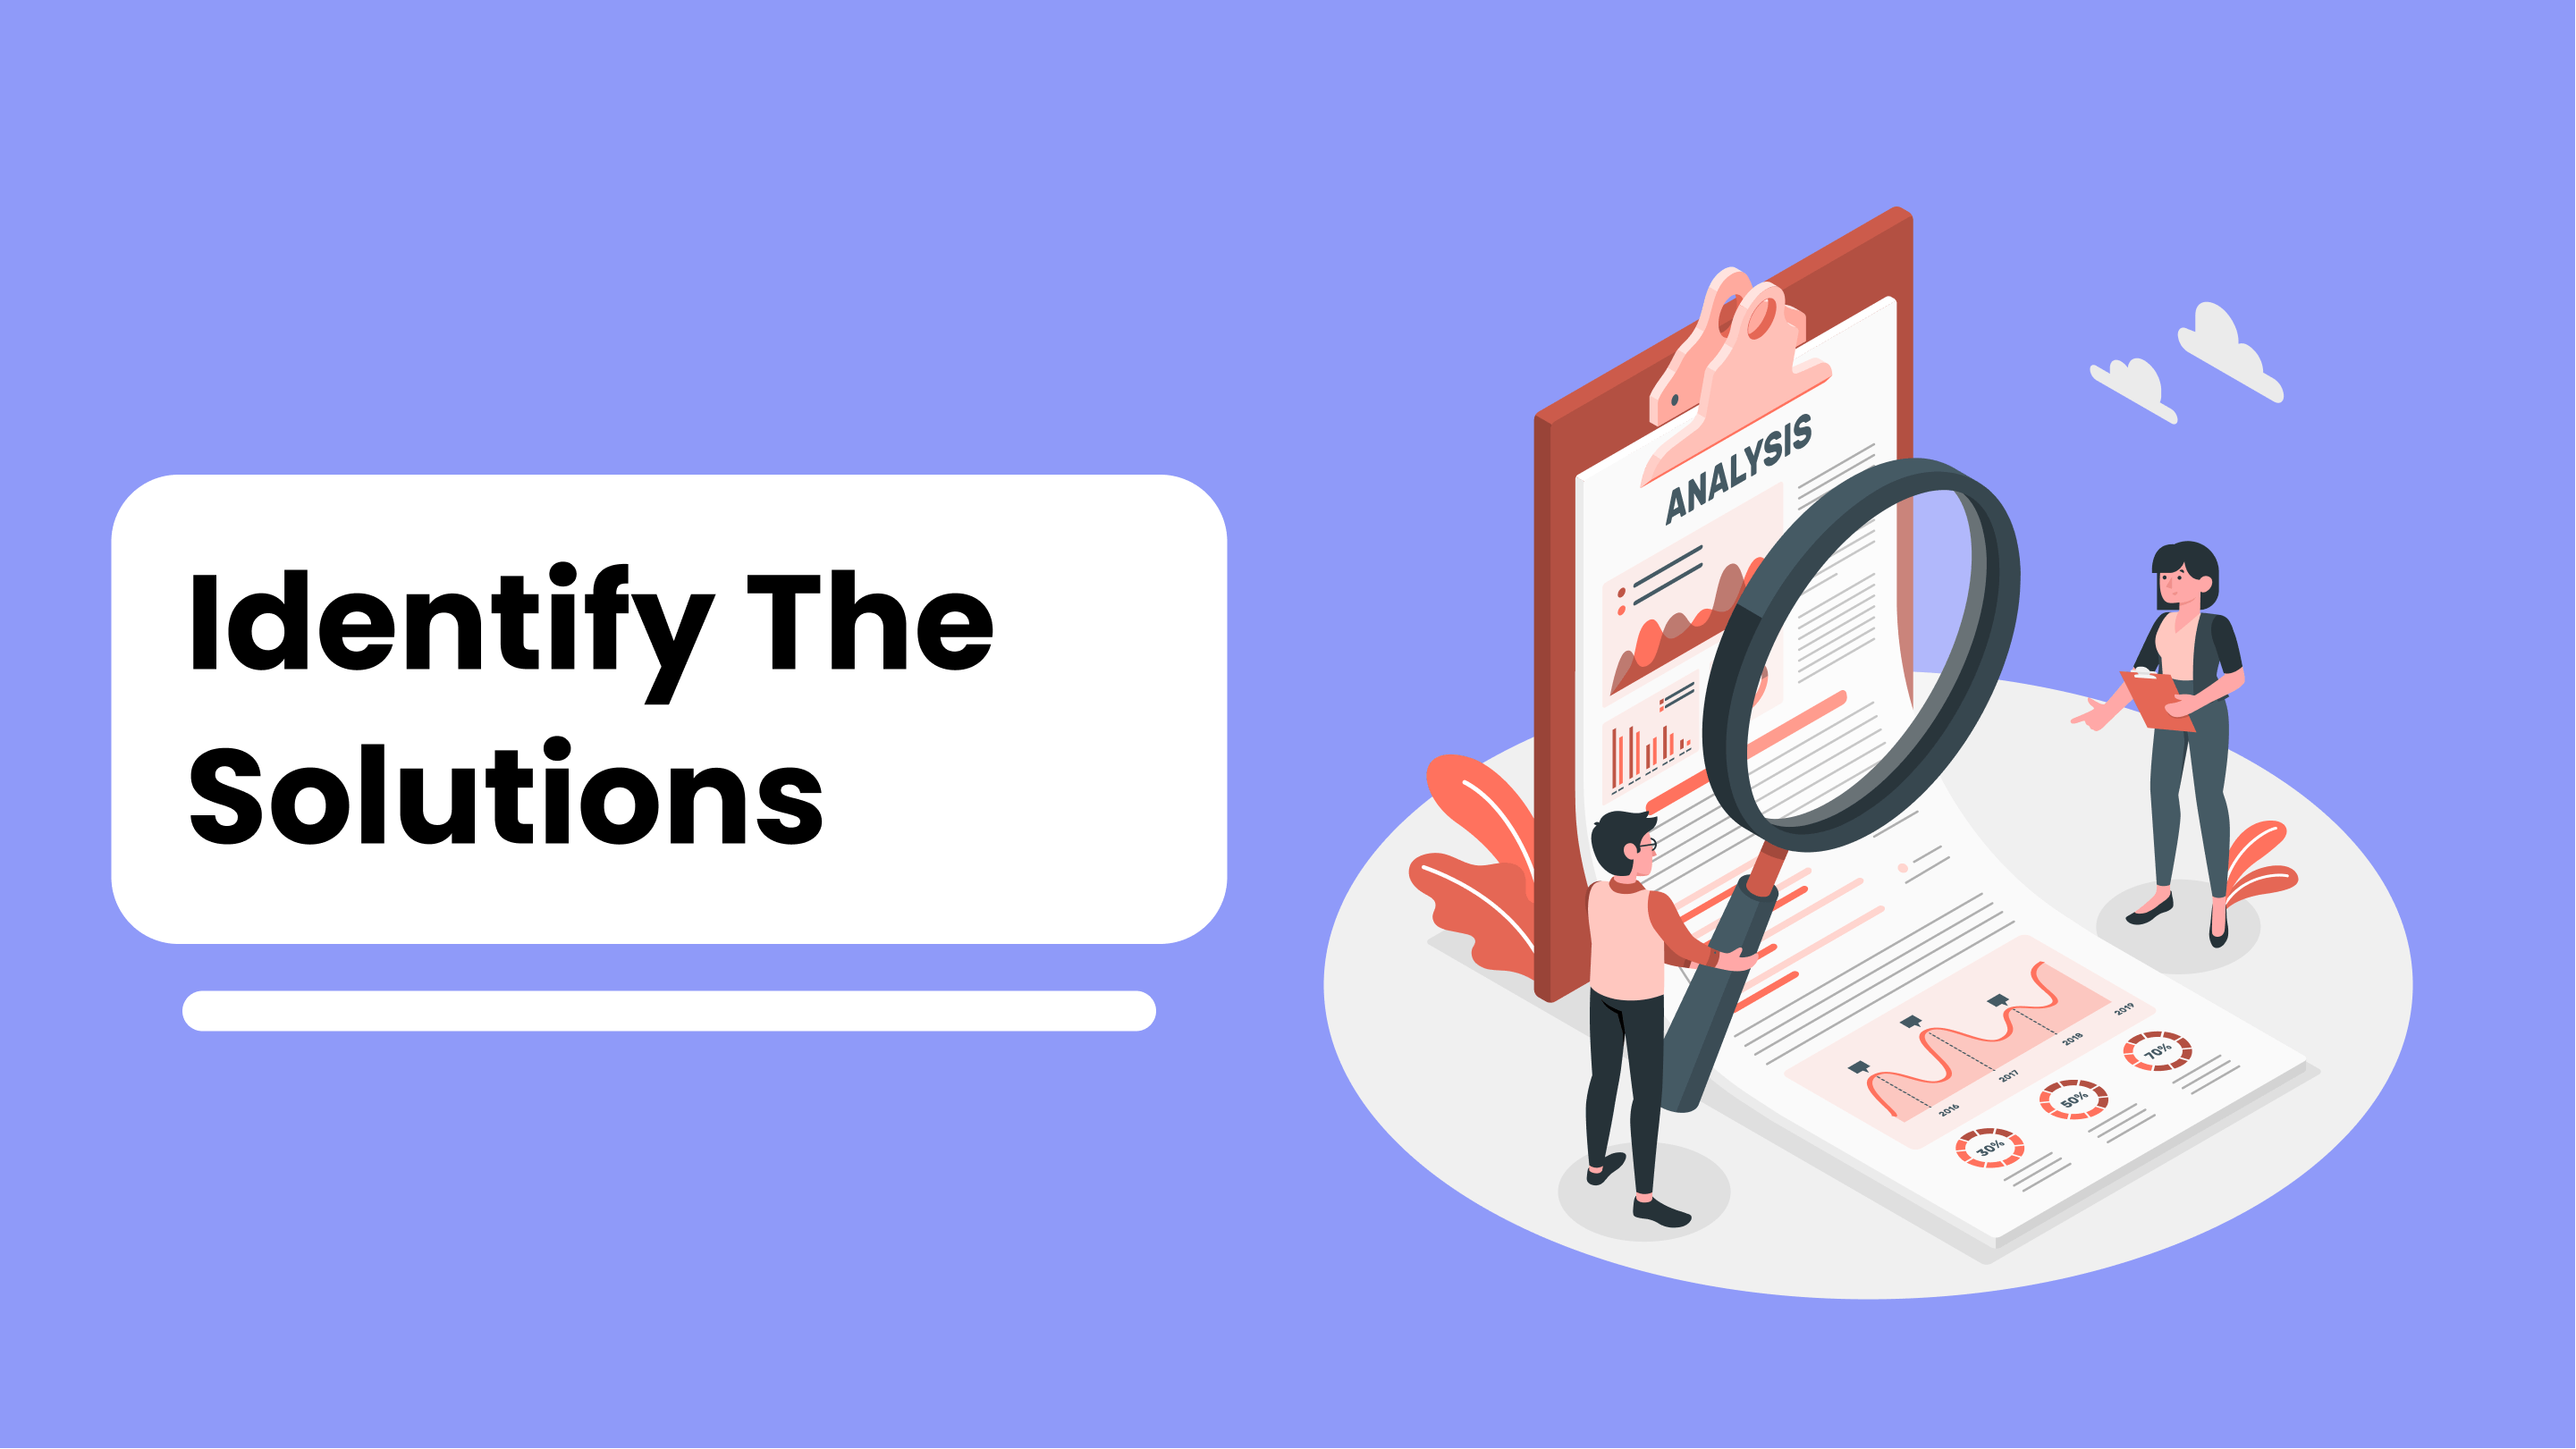
In this step, you need to identify a range of potential solutions that address the problem and meet the needs of both the business and users.
Example: For a banking app, potential solutions might include offering mobile check deposits, personalized account alerts, and intuitive navigation.
3. Competitor analysis and market demand based on your solutions:

Conducting a competitor analysis helps you understand what similar products are available in the market and how they are meeting user needs. This step helps you identify gaps and opportunities to differentiate your product.
Example: In the banking app market, competitors may include other mobile banking apps as well as traditional banks' online platforms. You could analyze their features, user experience, and market share to identify what sets your product apart.
4. Create a list of user persona questions for user interviews:
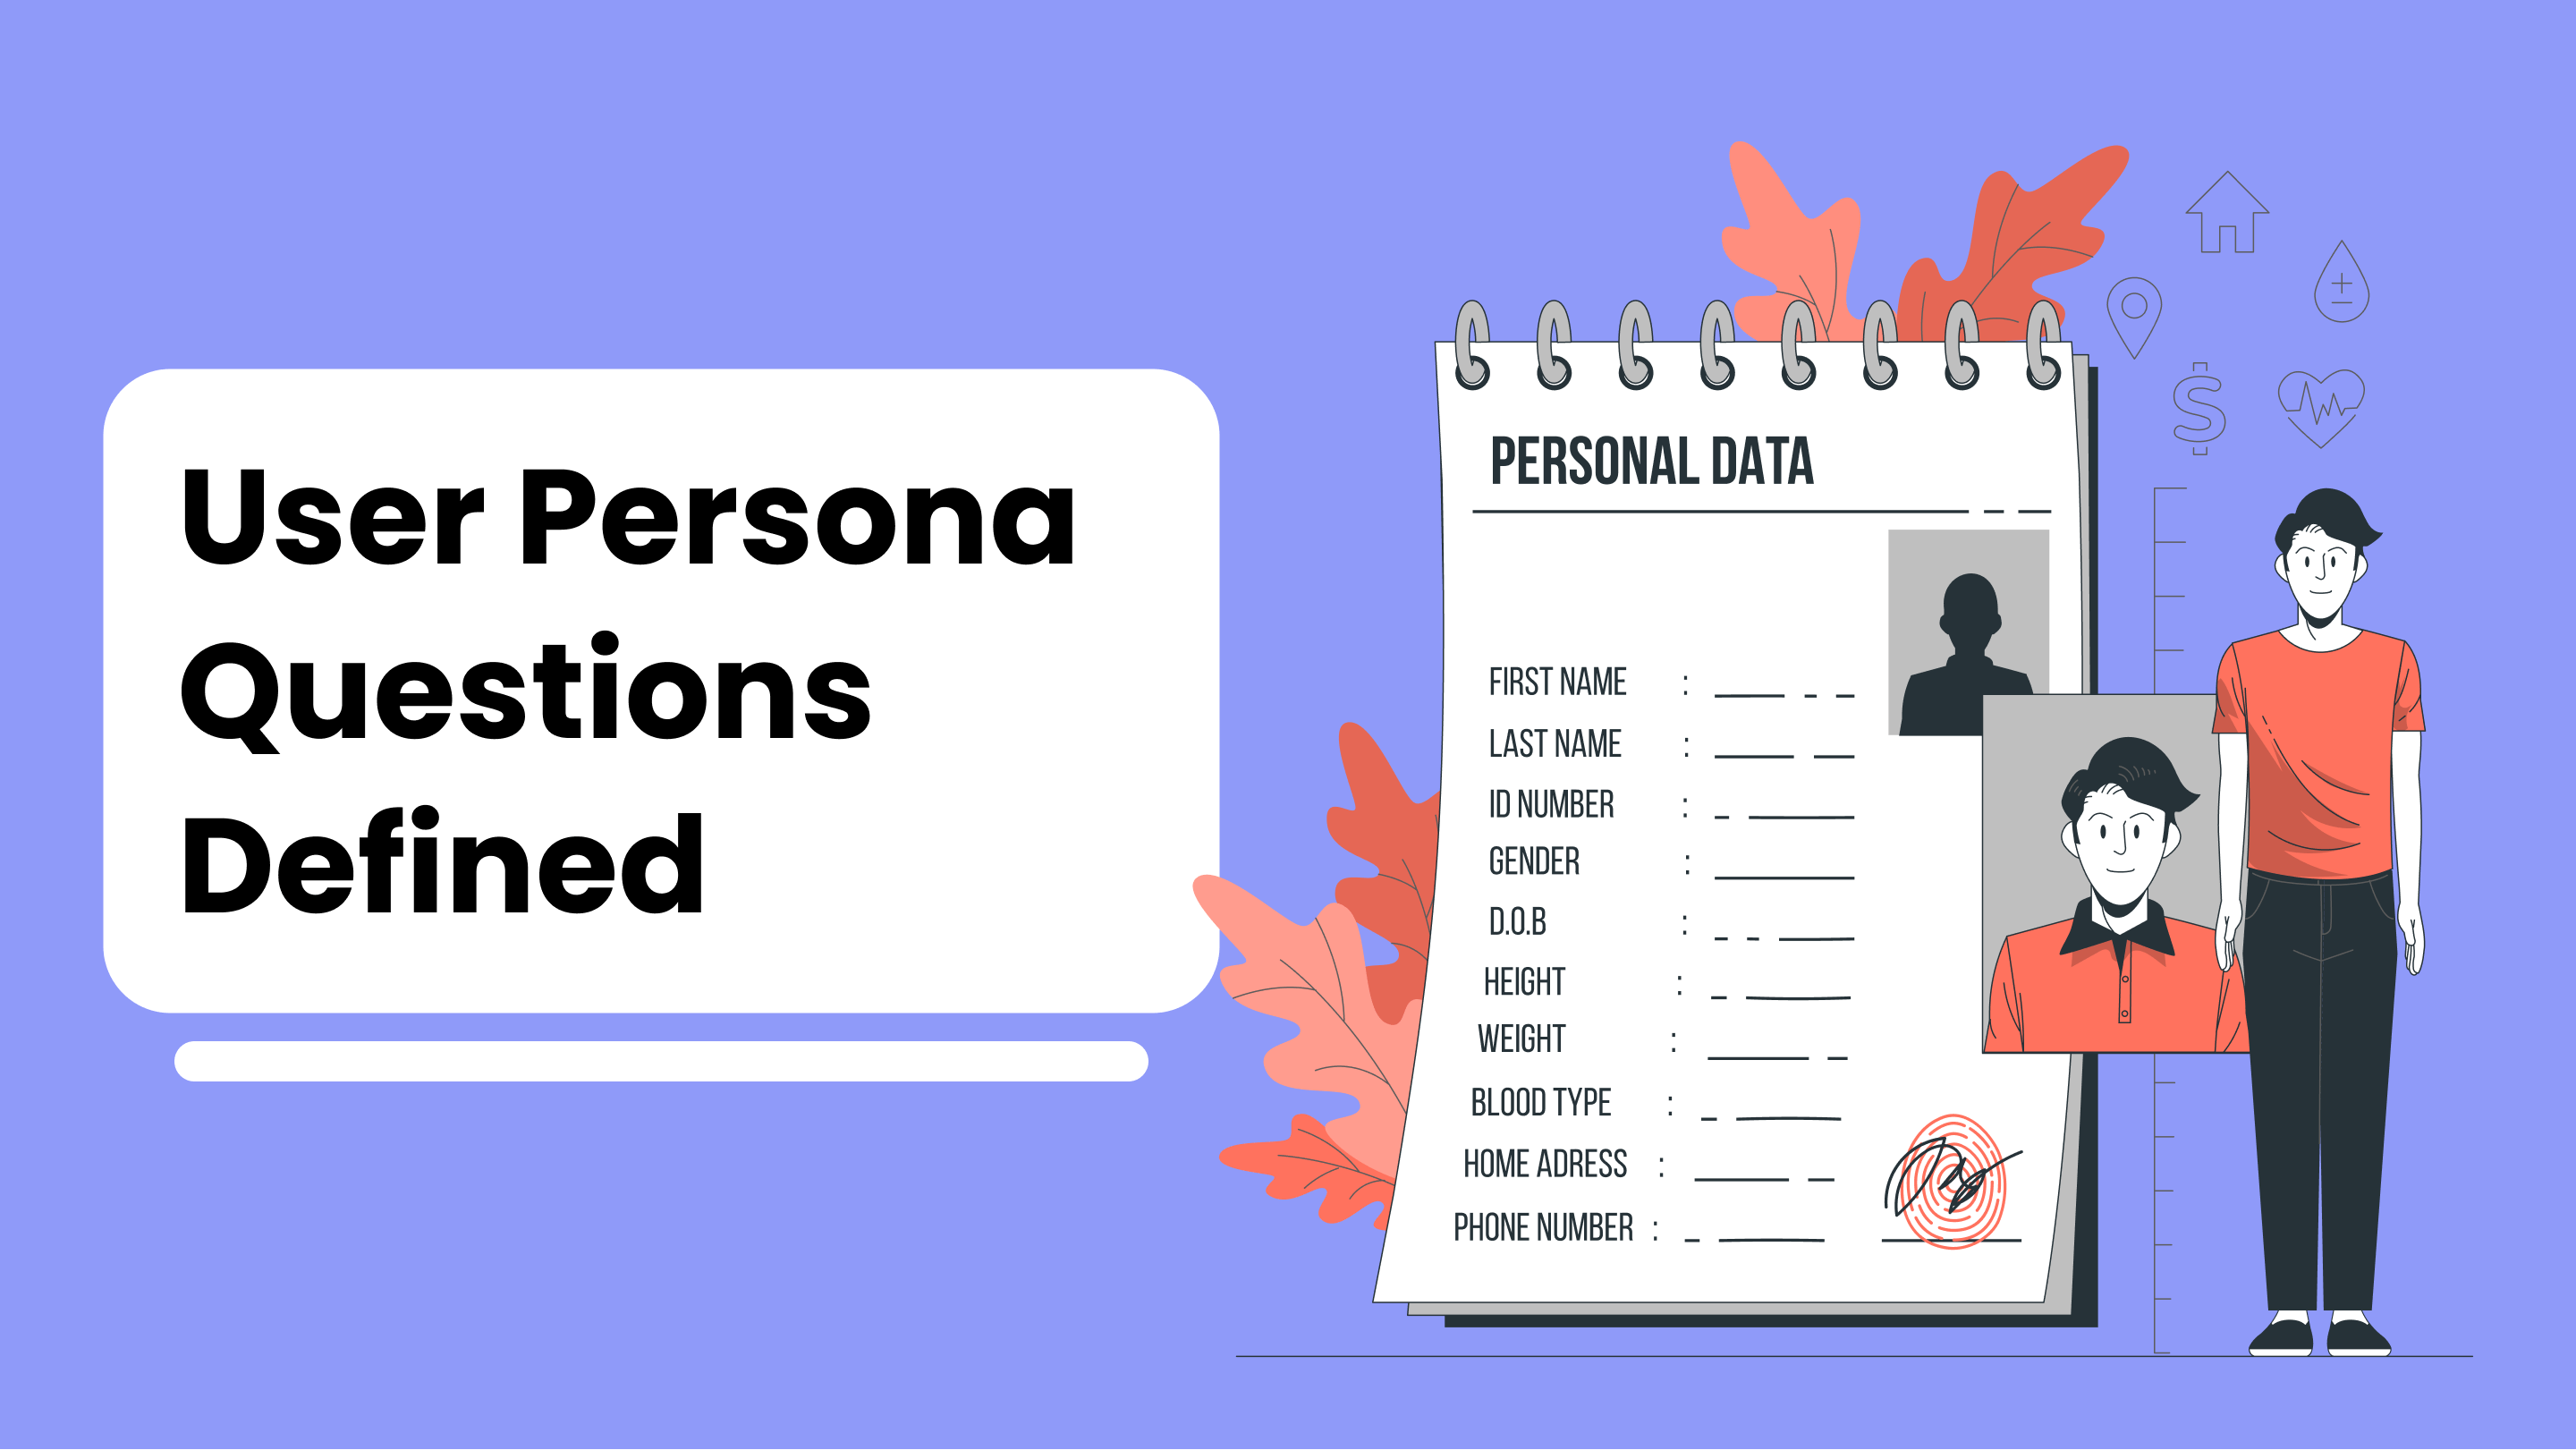
User personas are fictional representations of your target audience. To create these personas, you need to conduct user interviews and gather information about their needs, behaviors, and goals.
Example: For a banking app, you could conduct user interviews with a range of customers, such as frequent travelers, small business owners, and young professionals, to understand their specific banking needs and preferences.
5. User persona ready after getting information from user interview:
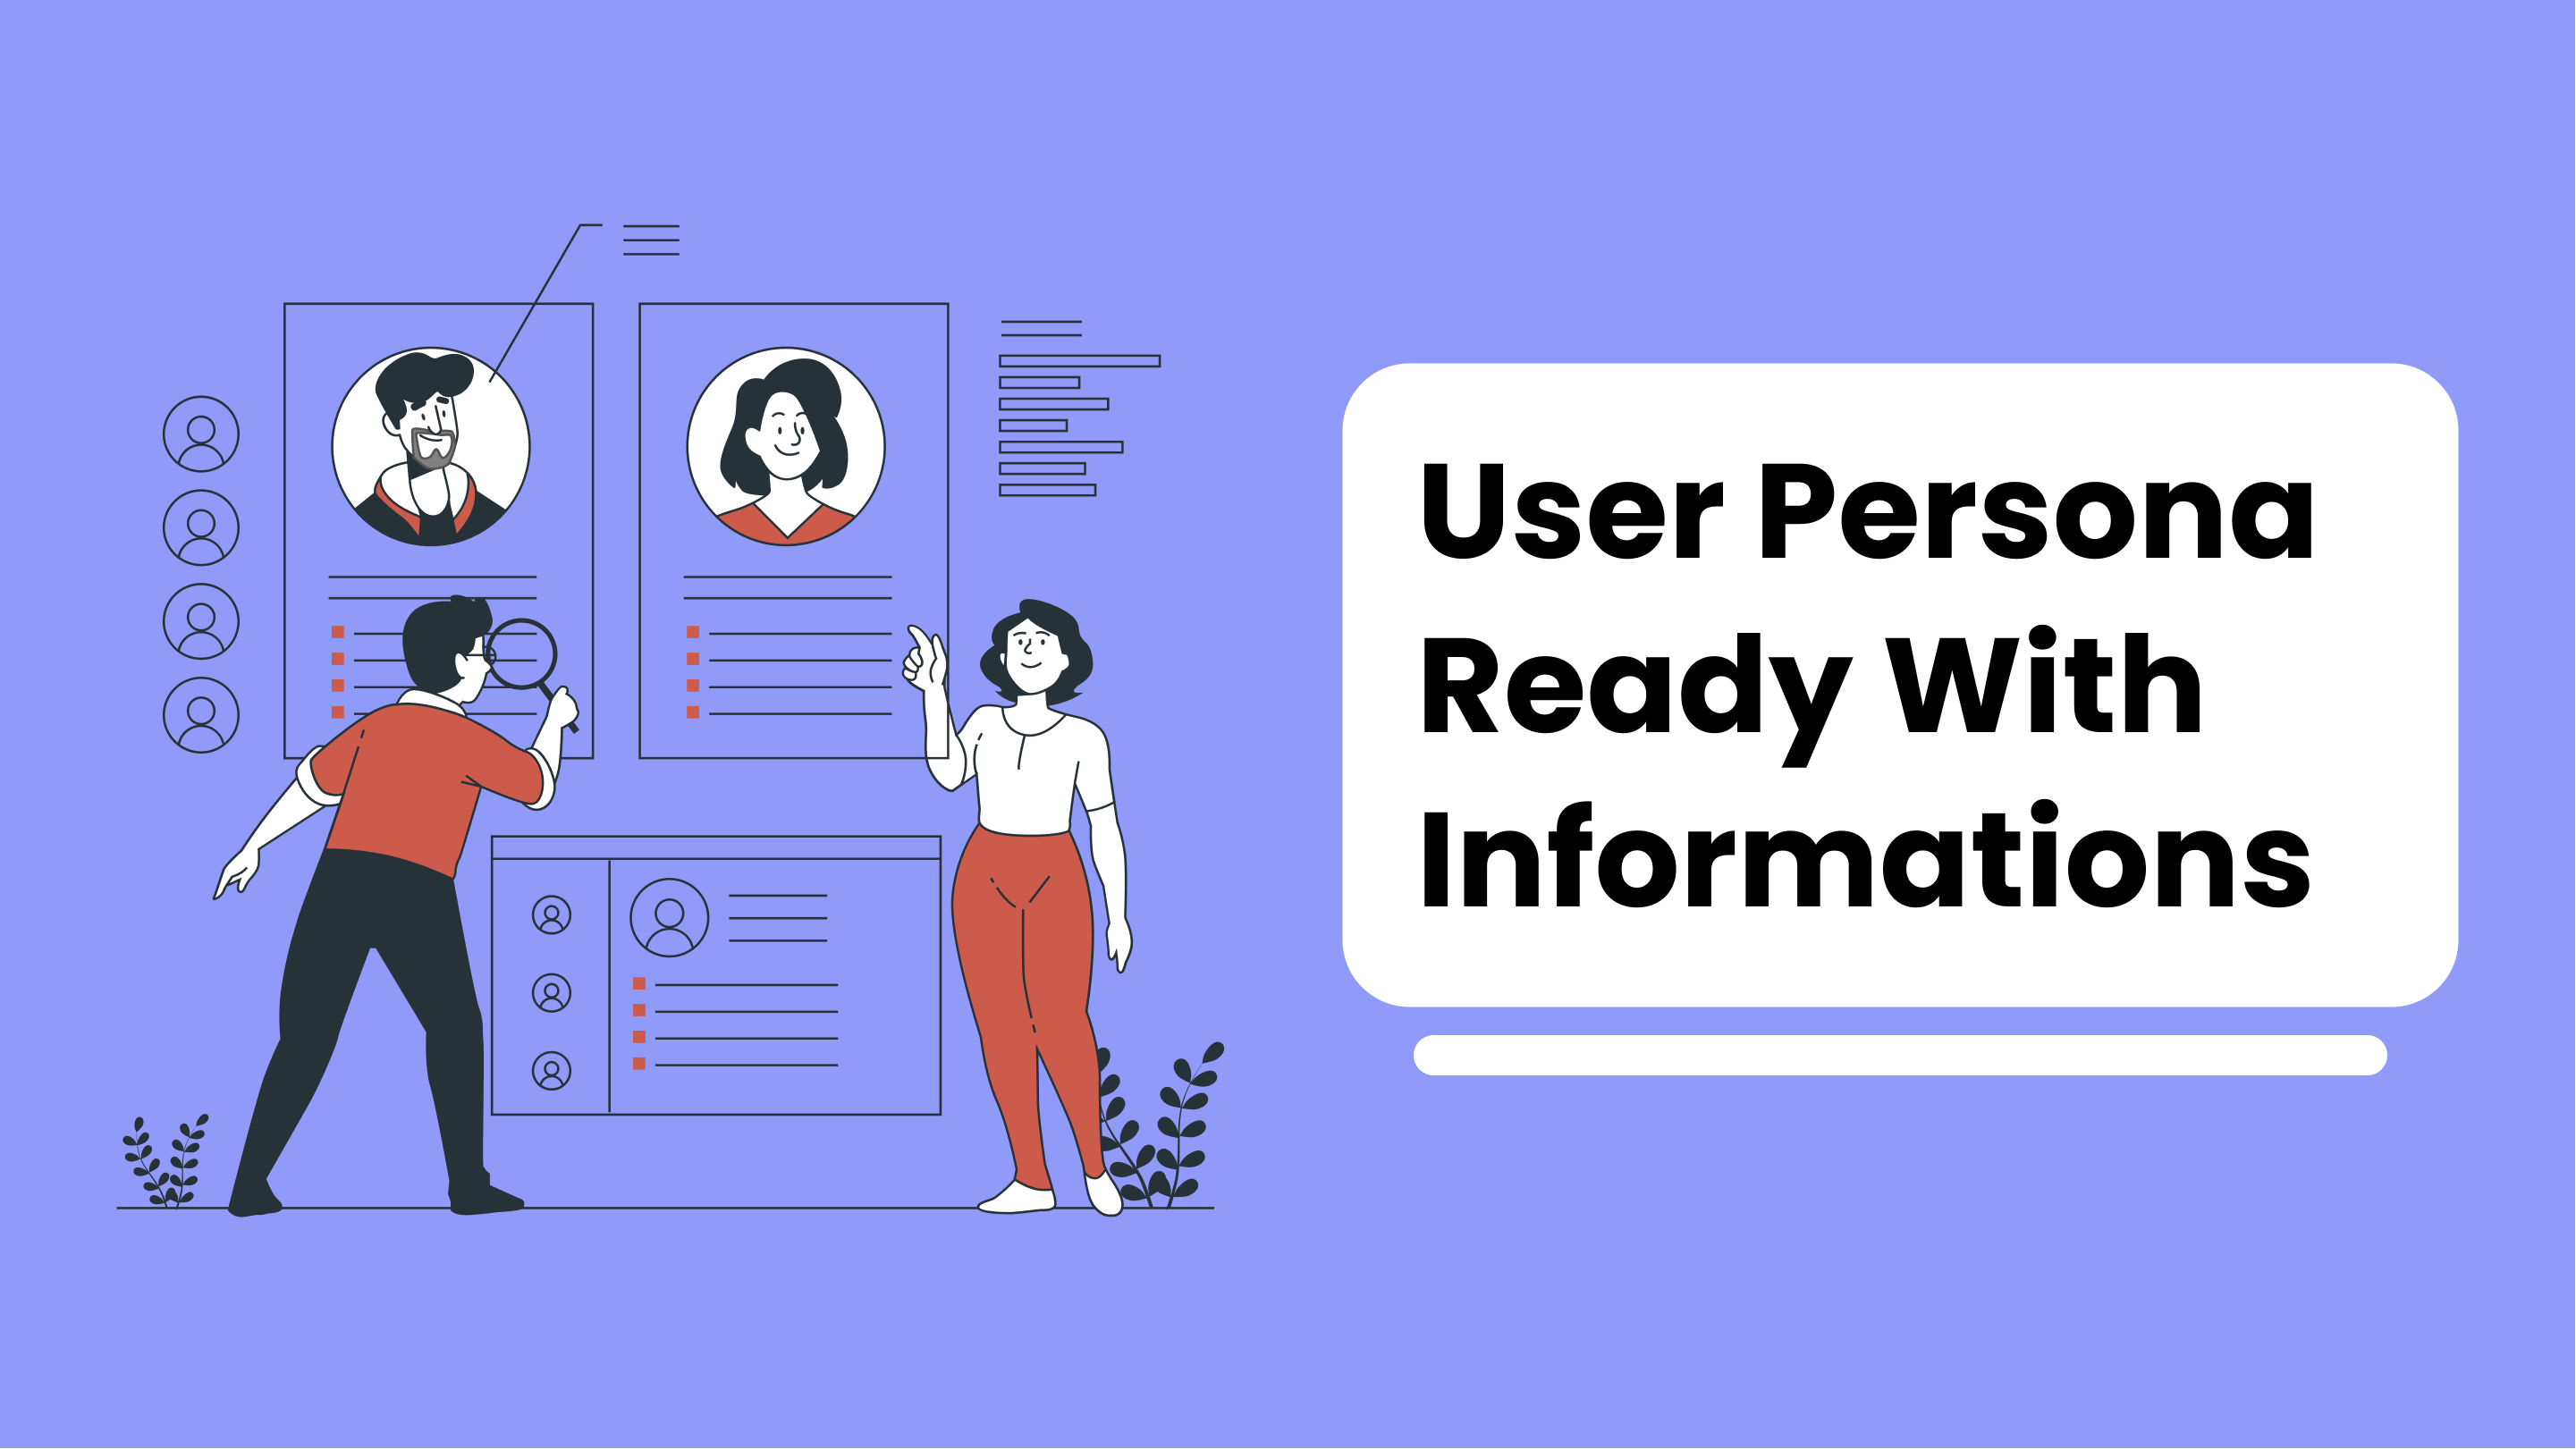
Once you have gathered enough data from user interviews, you can create user personas that represent the needs, behaviors, and goals of your target audience. These personas help guide the design process and ensure that the product meets user needs.
Example: For the banking app, you may create personas such as "Frequent Traveler," "Small Business Owner," and "Young Professional," each with unique needs and preferences.
6. User Flow, User Journey, and Experience Journey making:
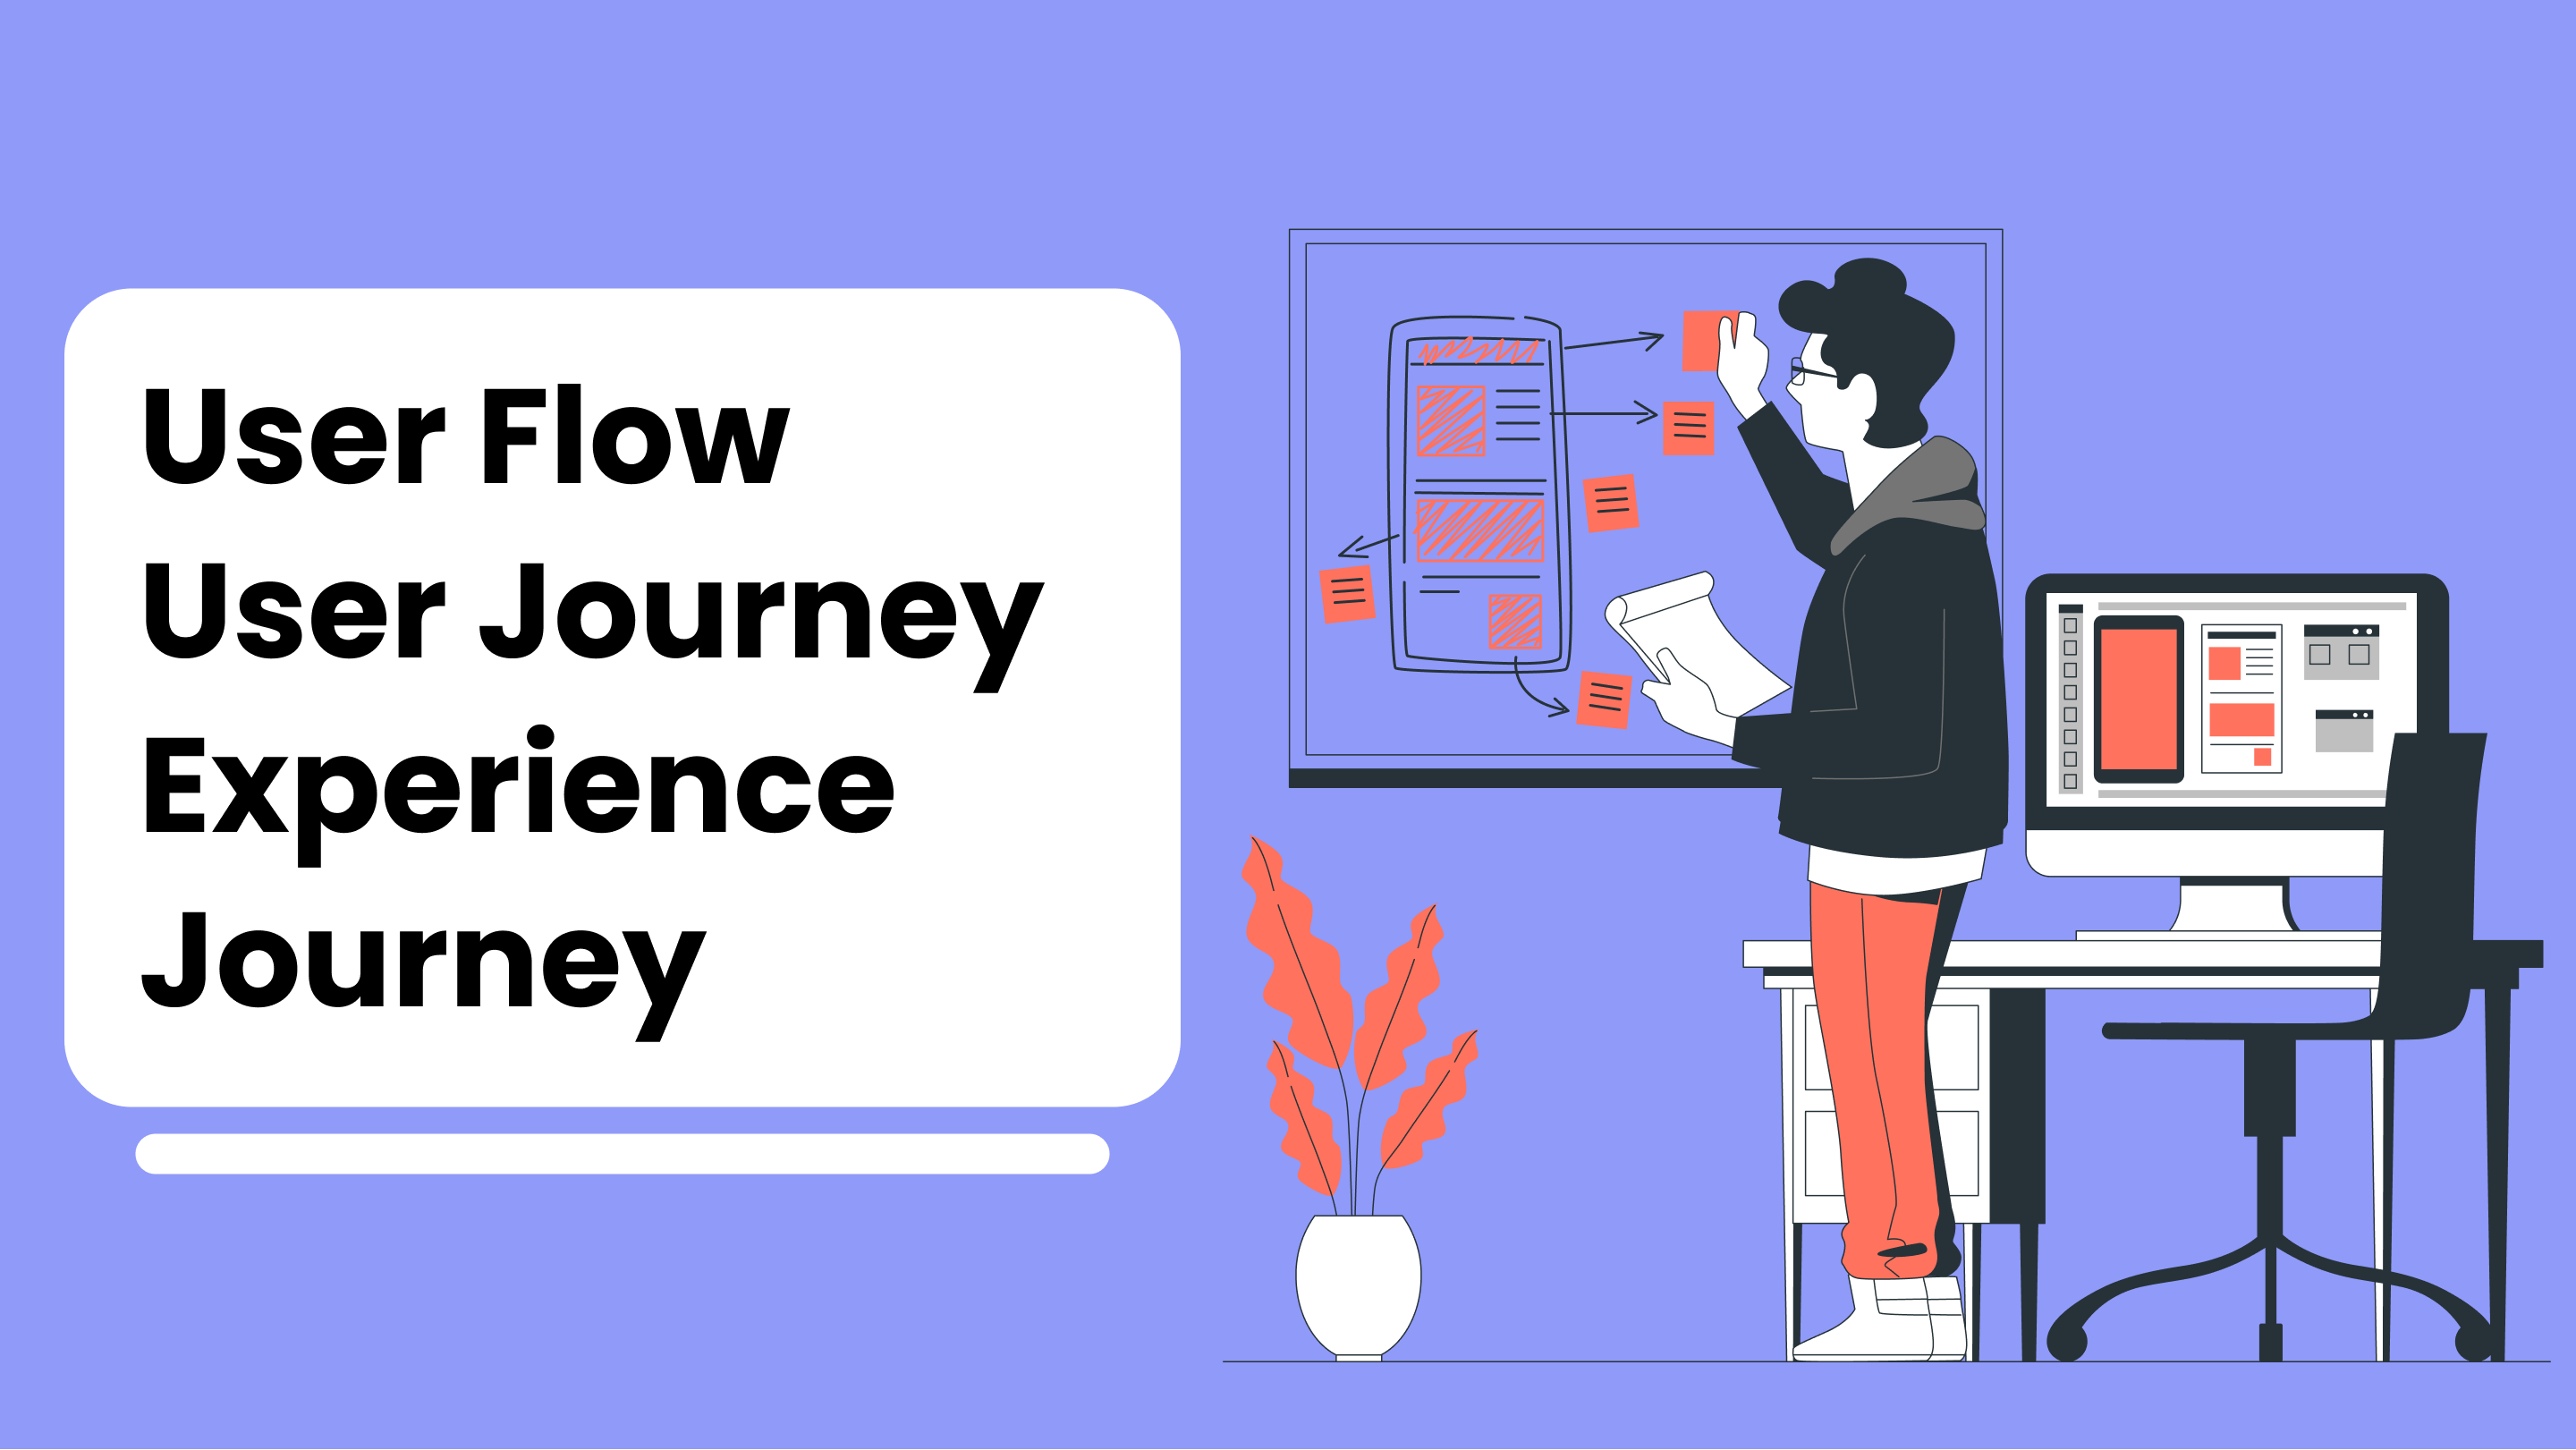
User flow refers to the steps a user takes to complete a specific task within the app. User journey refers to the overall experience a user has when interacting with the app. Experience journey maps out the entire user experience, from initial discovery to long-term engagement.
Example: For the banking app, a user flow may be the steps required to transfer funds from one account to another, while the user journey includes the process of signing up for the app, logging in, and completing transactions. The experience journey would map out the user's experience over time, including their level of satisfaction with the app.
7. Prepared Sitemap and Information architecture:

A sitemap is a visual representation of the website's structure, showing how pages are connected and organized. Information architecture refers to the organization and labeling of content within the website.
Example: For a banking app, the sitemap may include pages such as "Accounts," "Payments," and "Transfers," while the information architecture may organize content based on account type or transaction history.
8. Wireframing with the collected information:
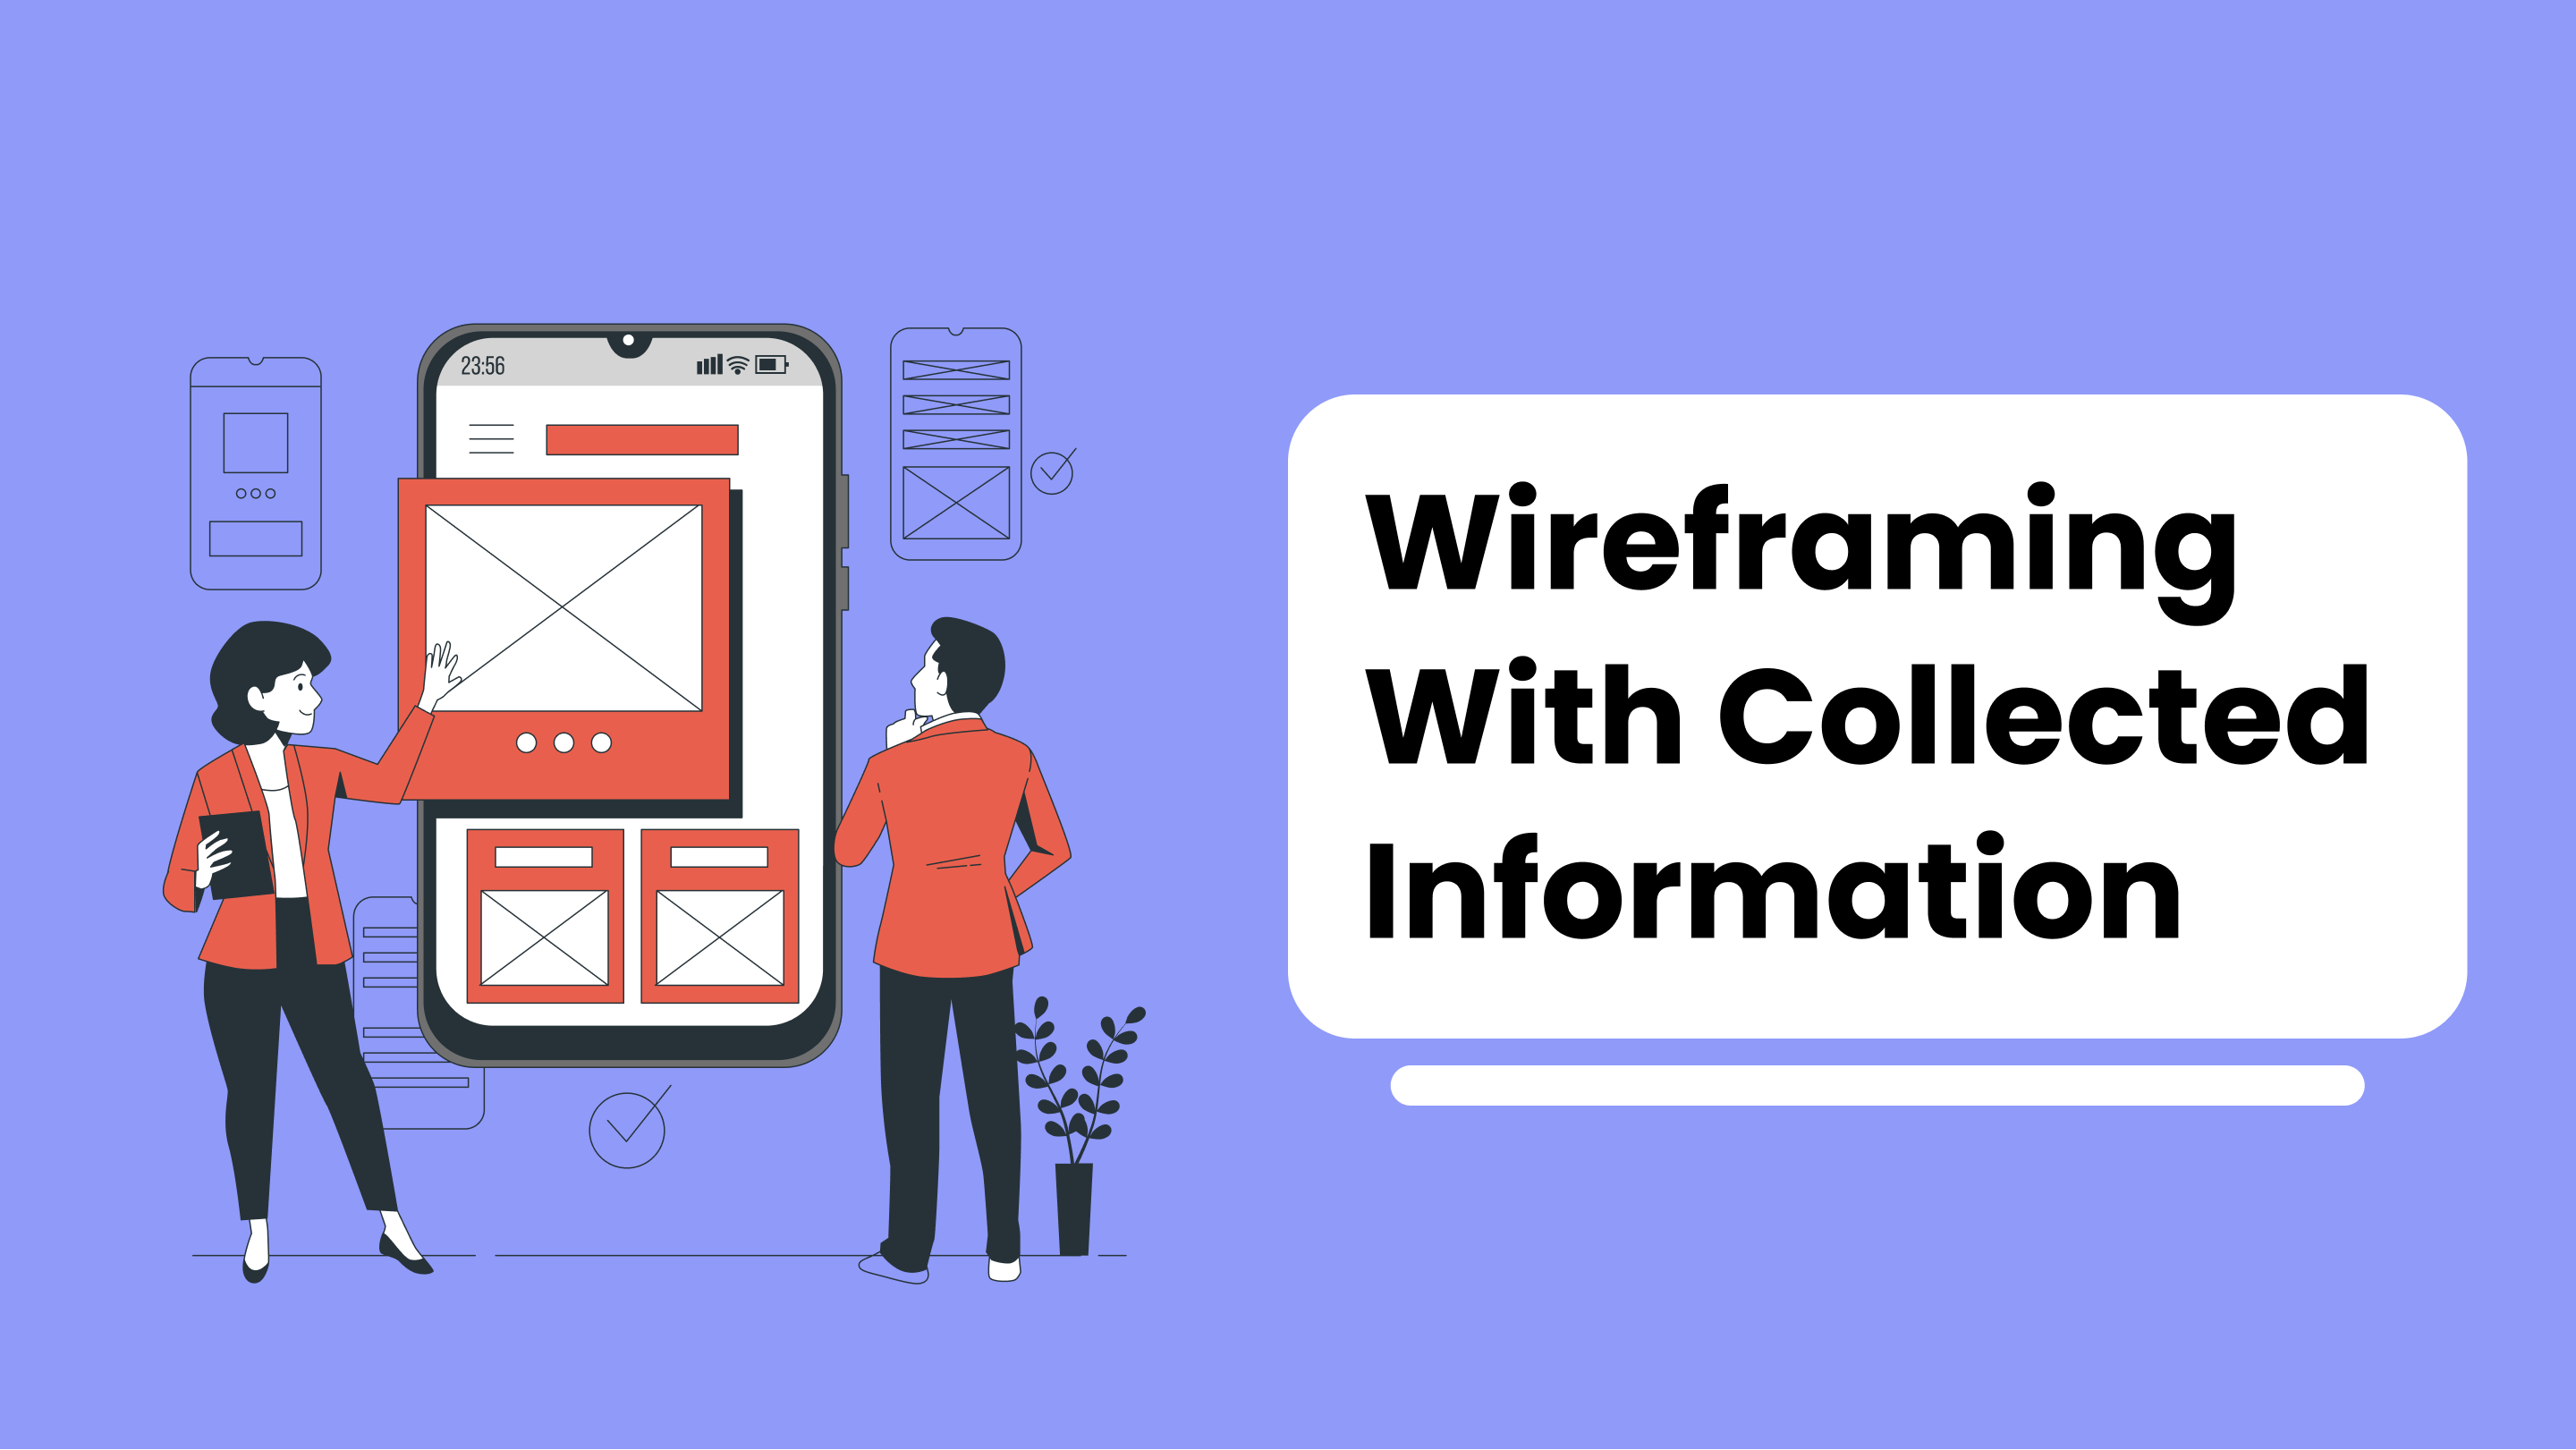
Wireframes are a visual representation of the app's layout and functionality, without the final design elements. They help you to test and refine the structure and functionality of the app before adding the final design elements.
Example: For the banking app, wireframes may include basic layout and functionality of each page, such as placement of buttons and input fields.
9. Prototyping Wireframe :
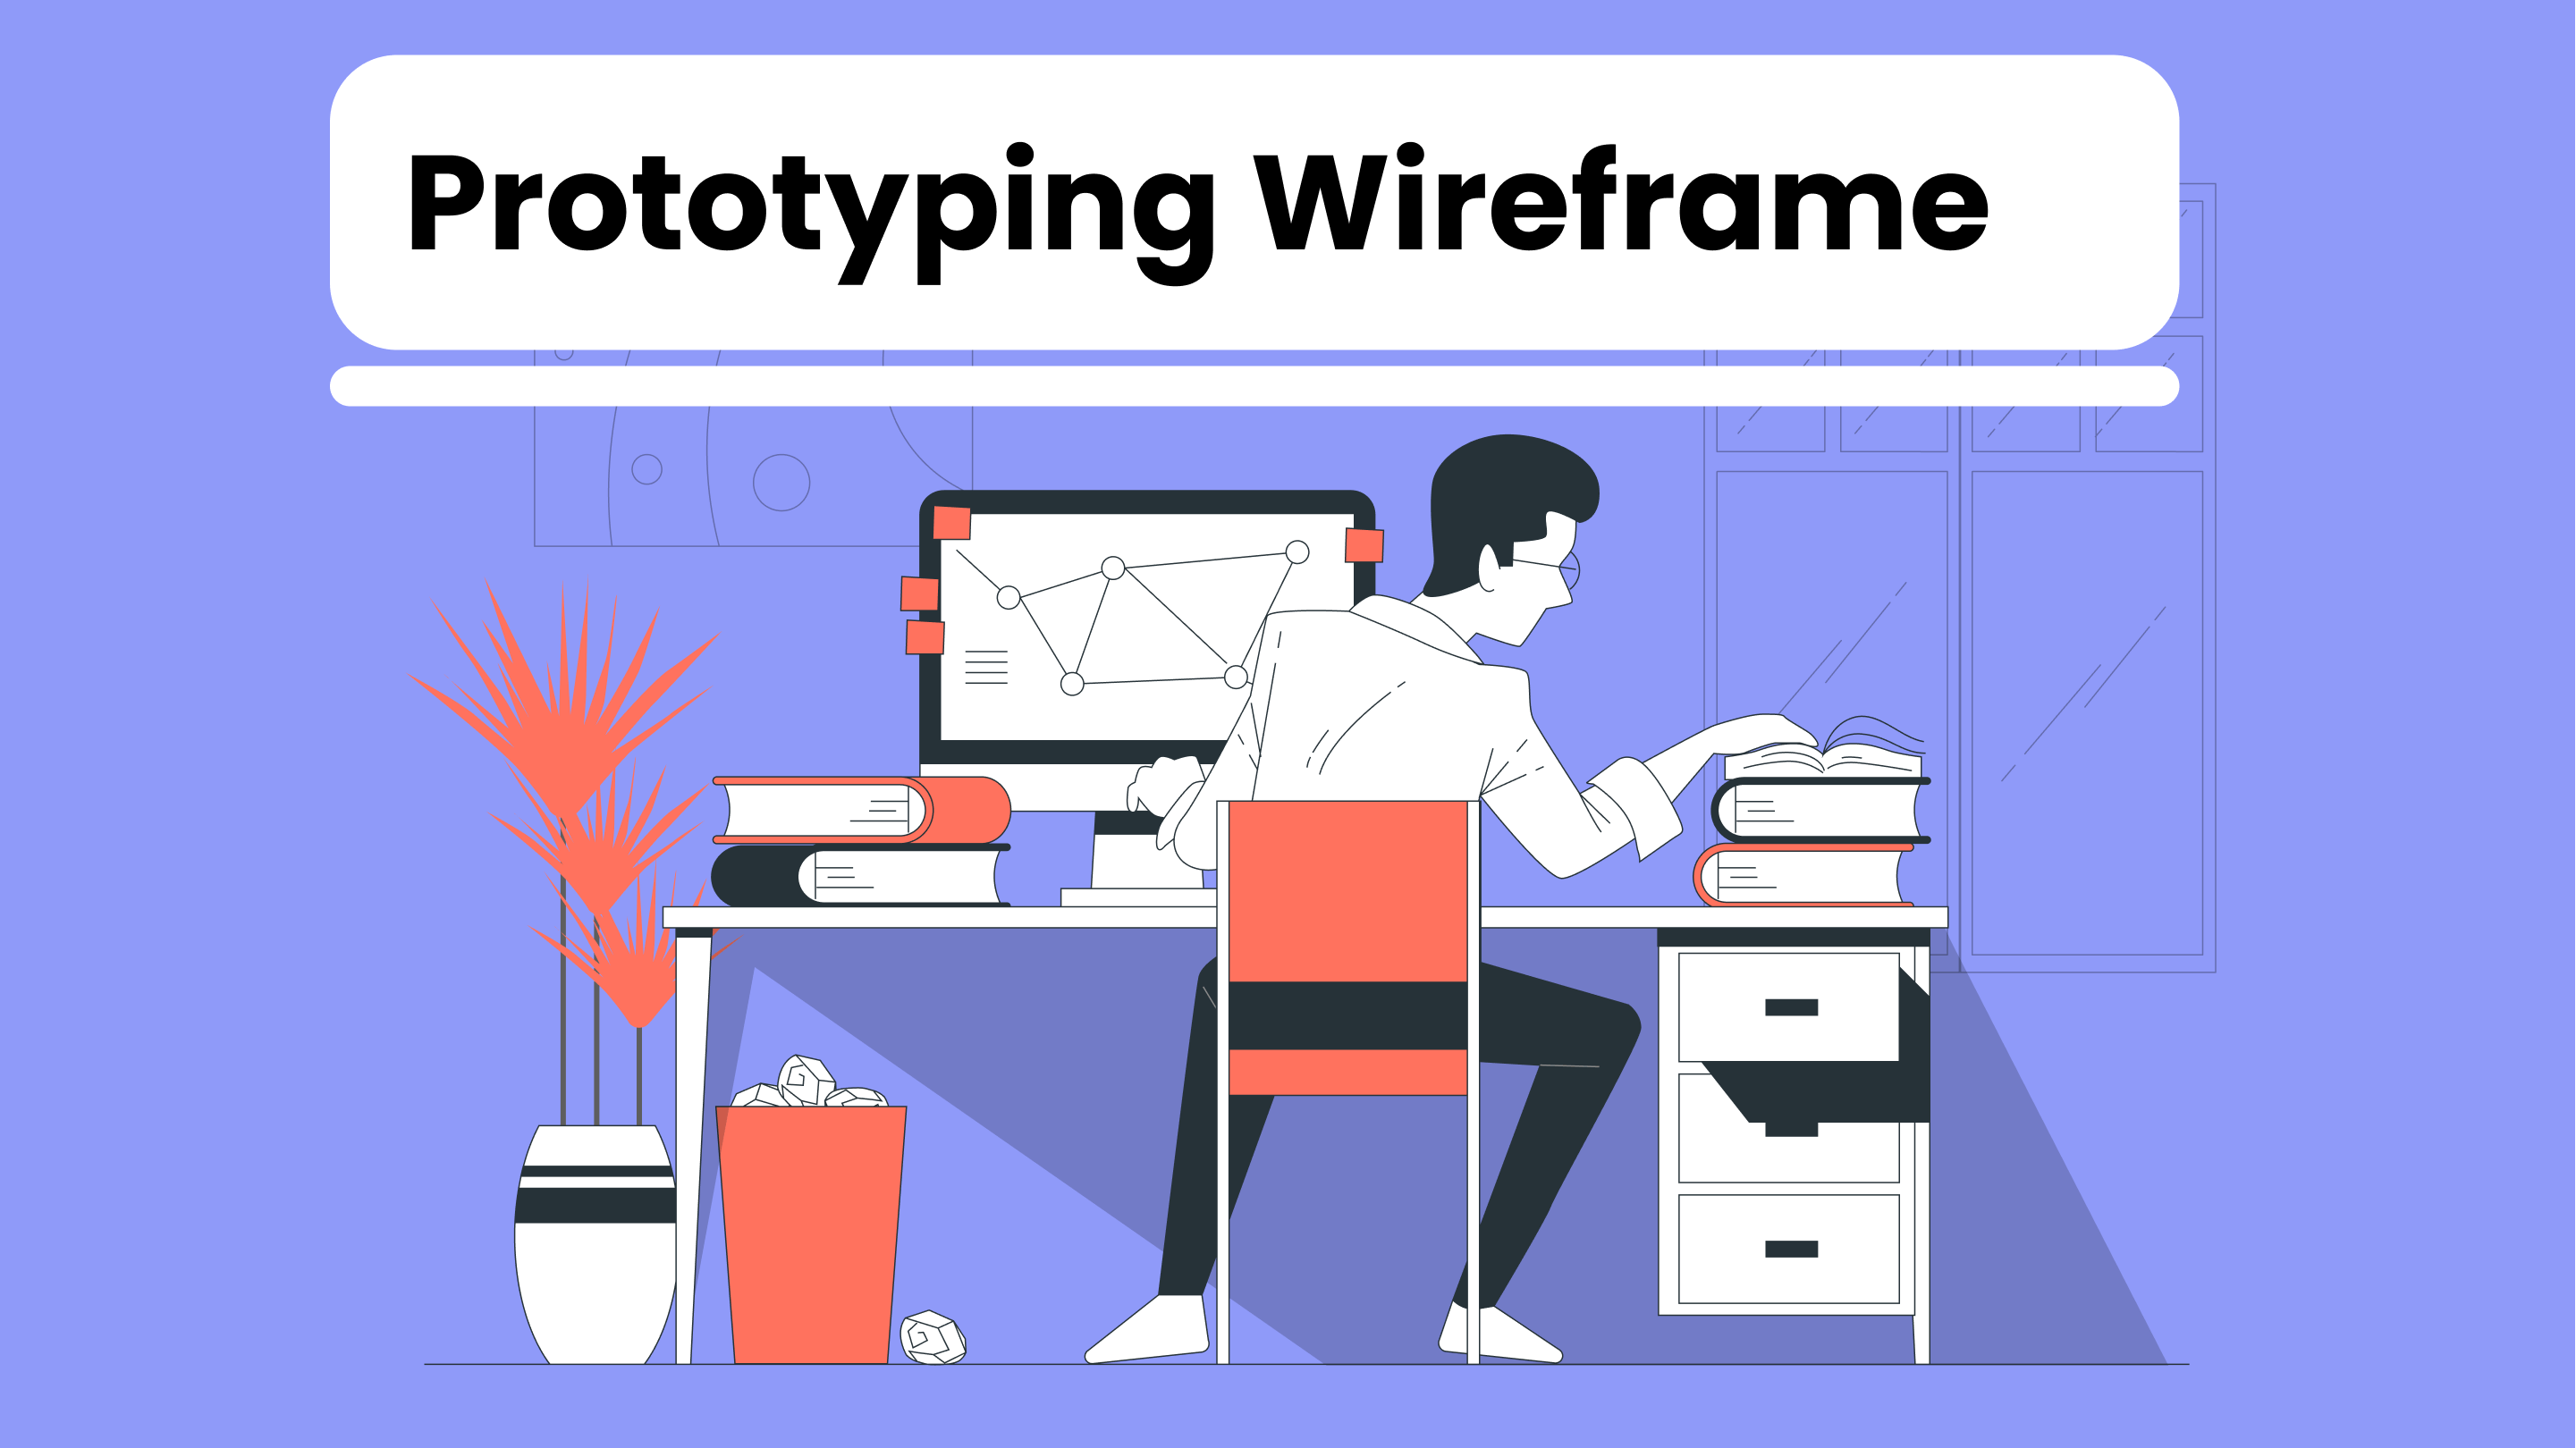
After creating the wireframes, the team can create a prototype of the digital product that can be interacted with. The prototype will allow the team to test the user experience and ensure that the product meets the requirements outlined in the user persona and user journey. The prototype can be created using different tools such as InVision, Marvel, or Axure. These tools enable the team to create a working model of the product, which is clickable and interactive.
For example, a banking app team wants to develop a new feature that allows users to send money easily to their contacts. They create a wireframe of the feature and use a prototyping tool to create a clickable model. They can then test the prototype to see if it meets the user's needs and expectations. If any issues or changes are identified, they can go back to the wireframe and make the necessary adjustments before moving forward with the final design and development.
10. Making the Actual Design from Wireframes:
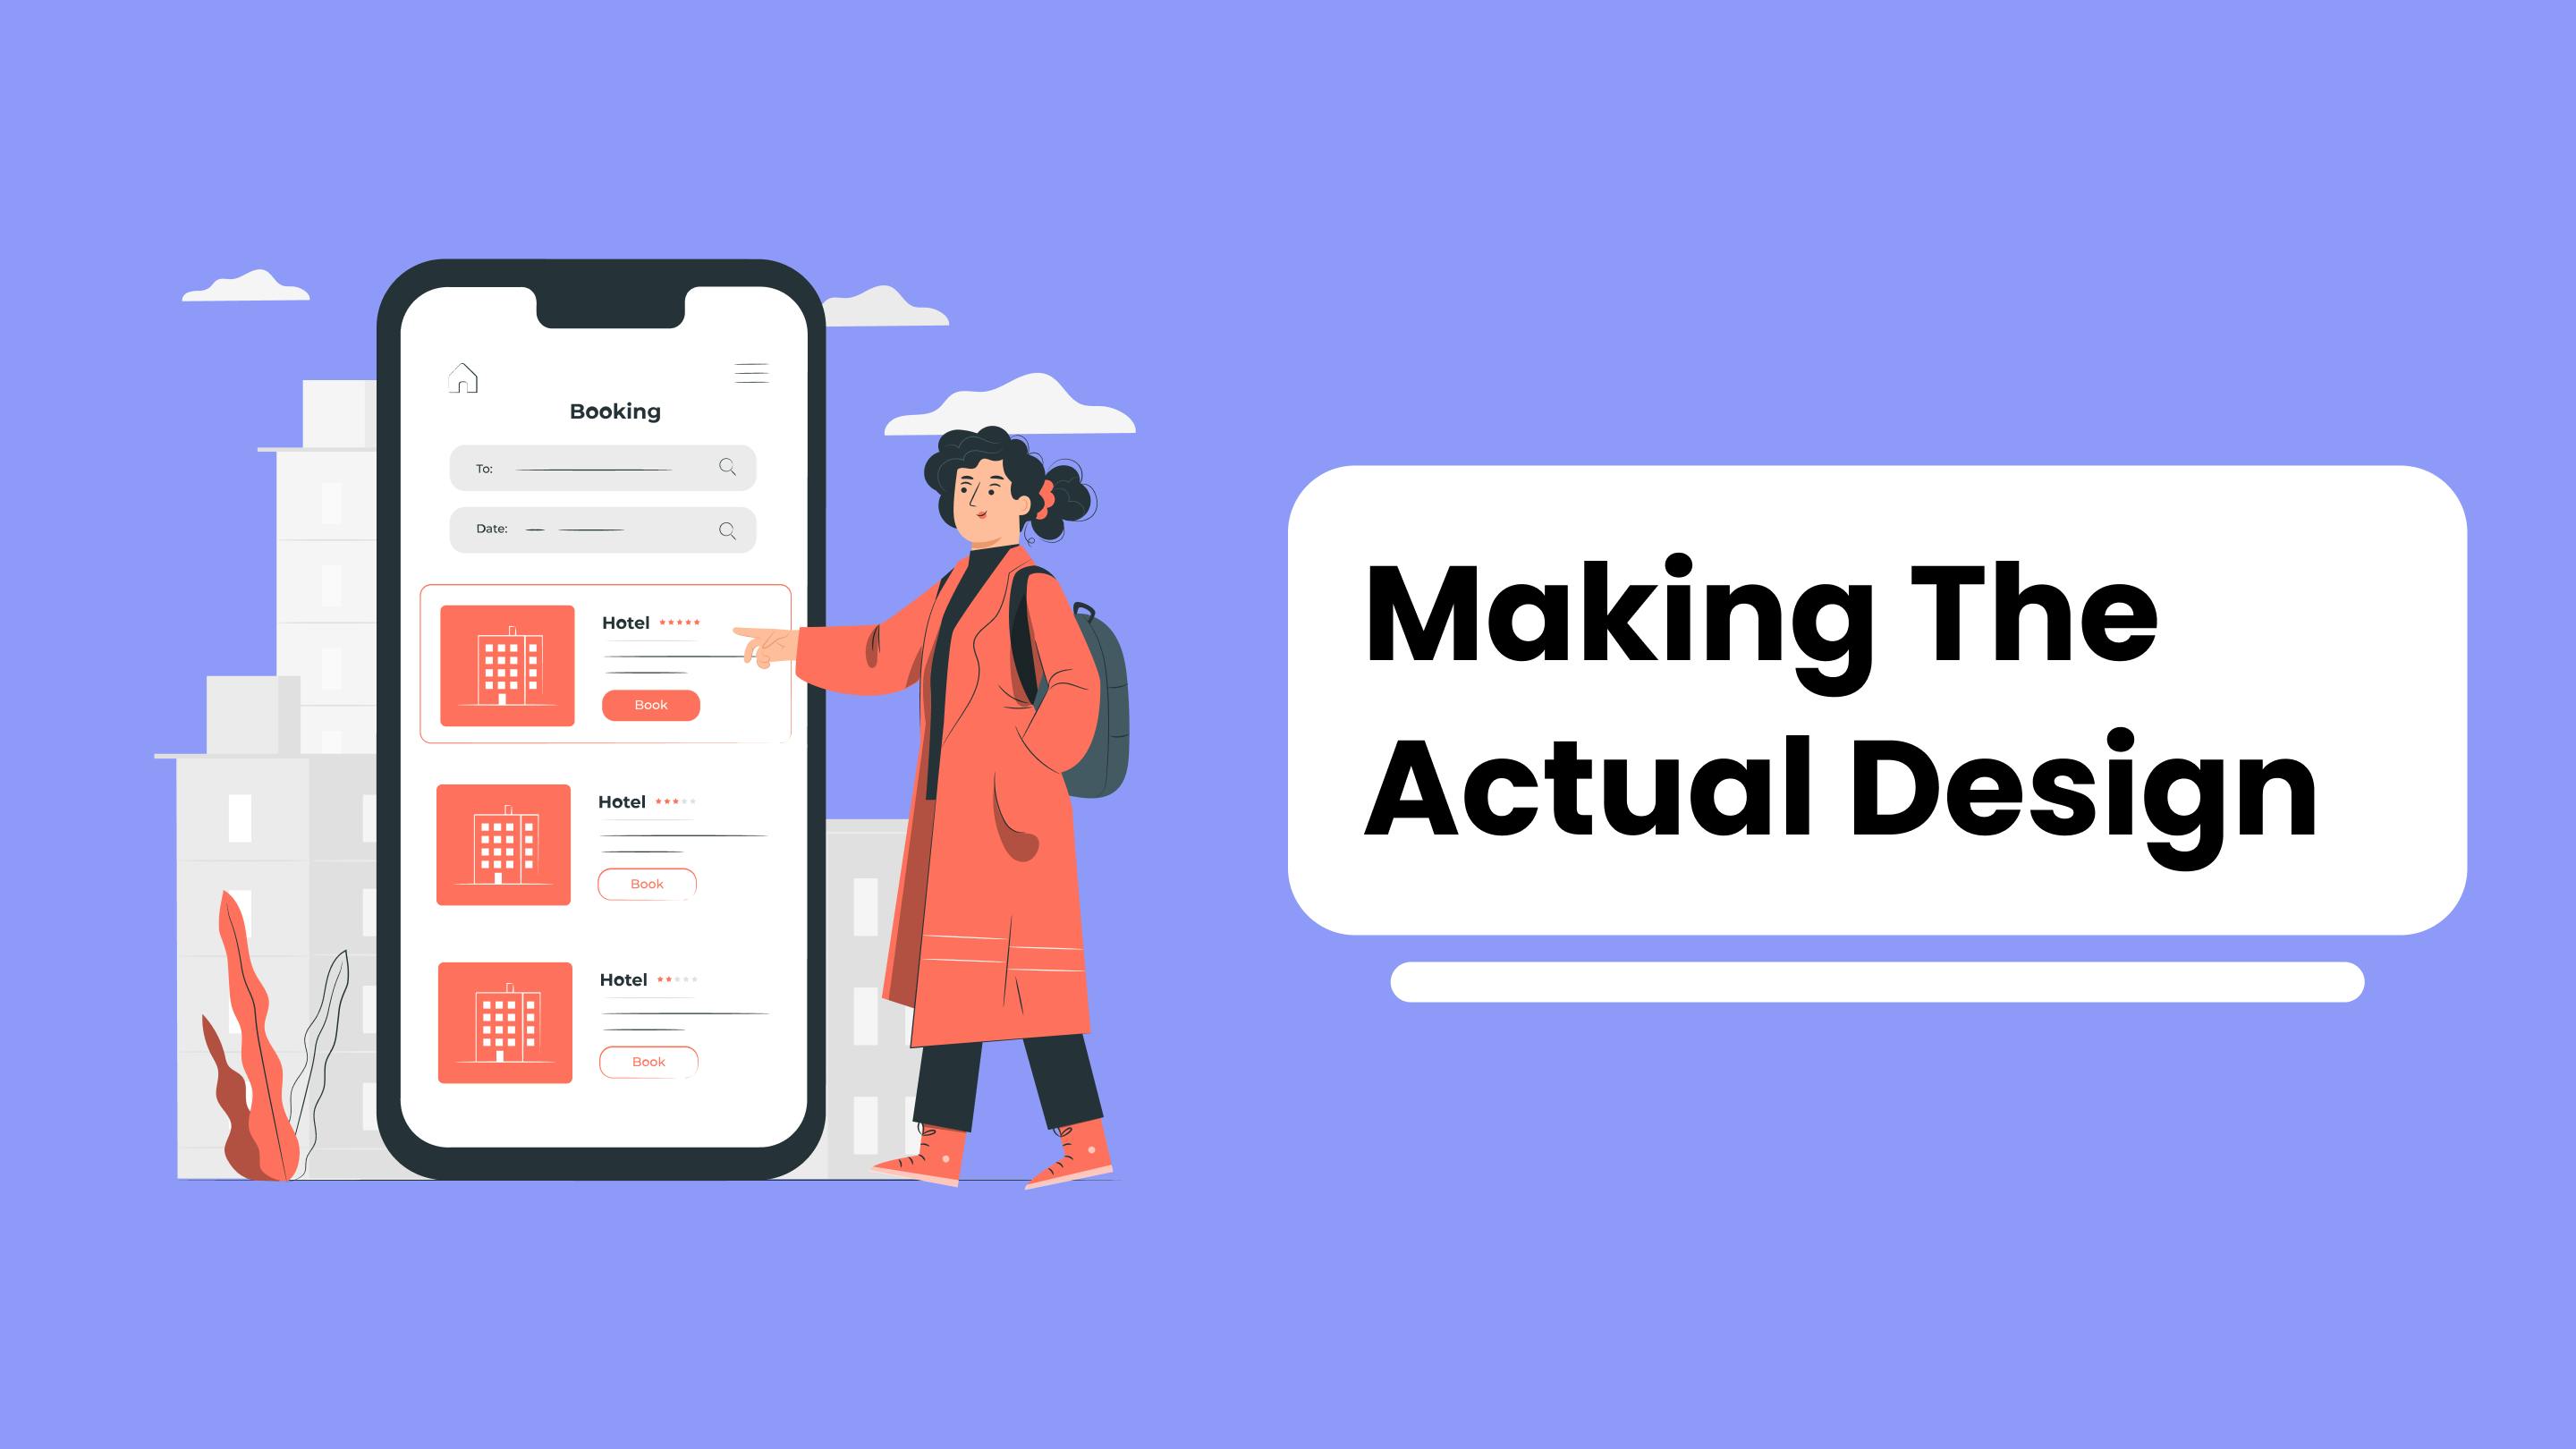
Once the wireframe is finalized, the actual design process can begin. The design team will use the wireframes as a basis for creating the final visual design of the banking app. This includes designing the user interface, creating graphics and images, choosing colors and typography, and ensuring that the design is consistent throughout the app.
For example, in the banking app, the design team may choose to use blue as the primary color to convey trust and security. They may also design icons and buttons that are easy to understand and use for the app's target users.
11. Covert the design into code:

Once the design is finalized, it is time to hand it over to the developers for coding. The developers will take the design and turn it into a functional app. They will write code, build databases, and create all the necessary backend infrastructure to ensure that the app works seamlessly.
In the banking app, the developers would use programming languages such as Java or Swift to create the app. They would also build a database to store user data and ensure that the app is secure.
12. Identifying issues and bugs through testing
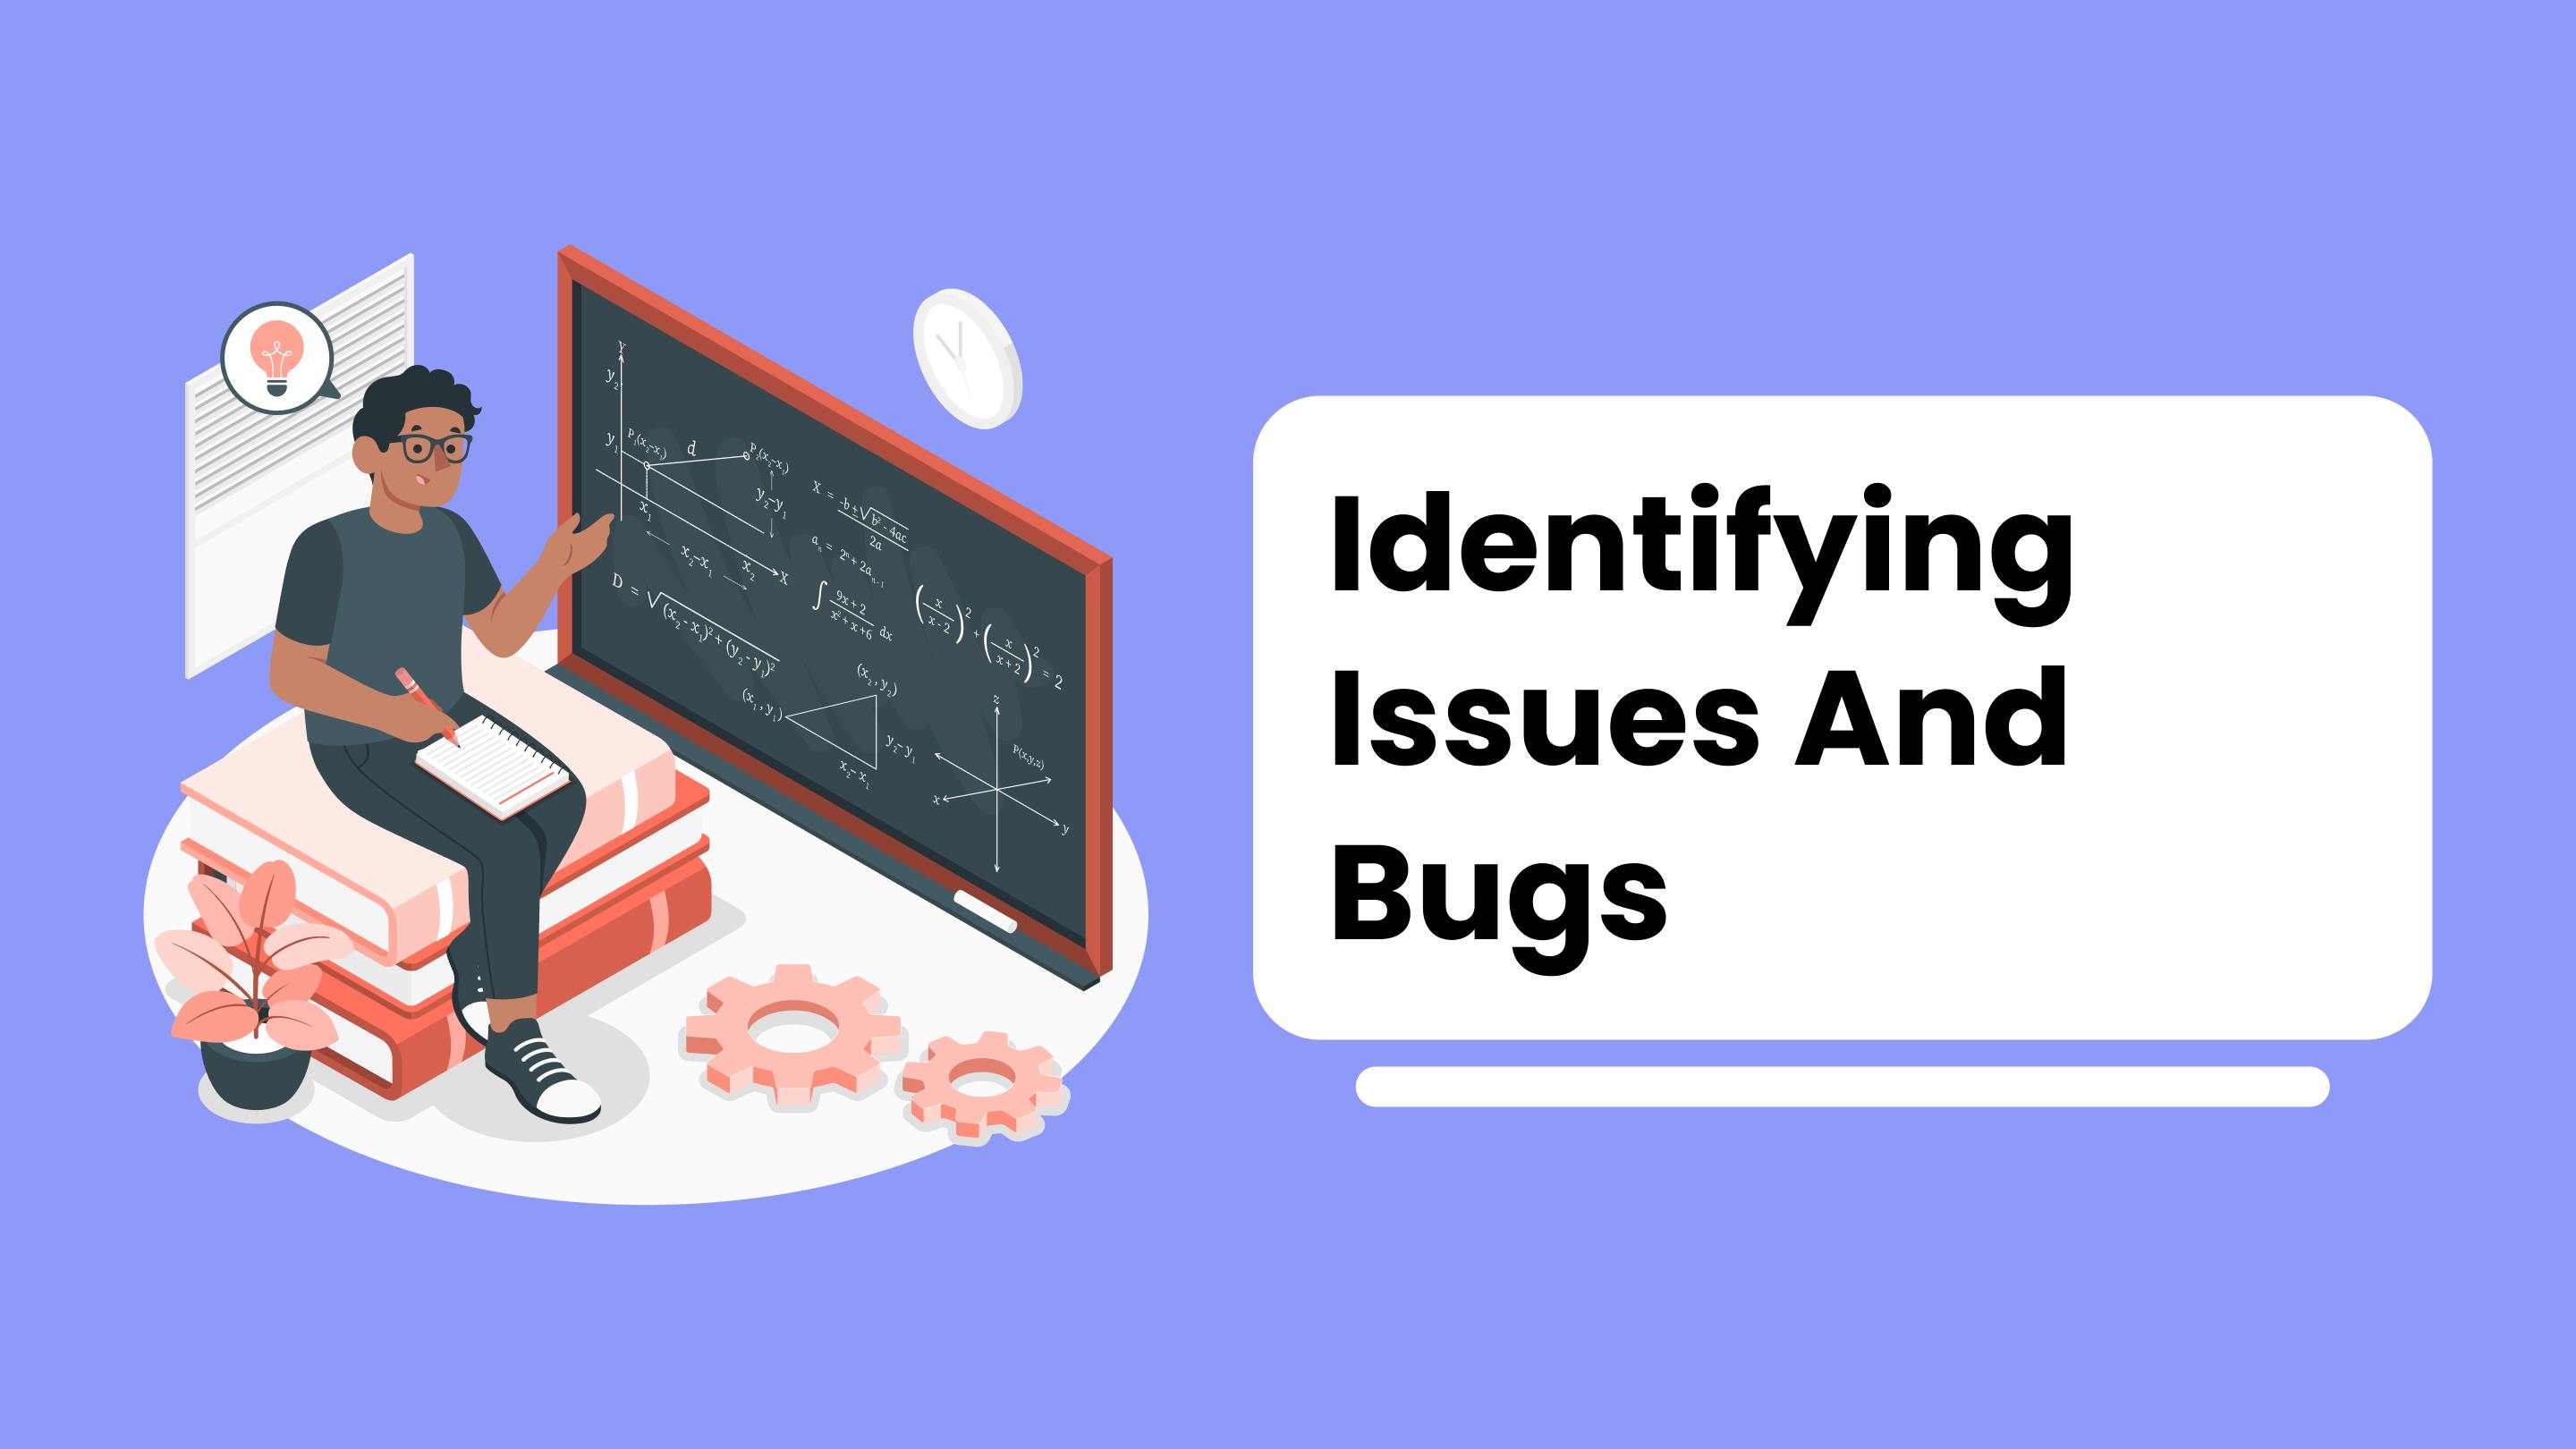
Once the app is built, it needs to be tested to ensure that it works as expected. Testing helps to identify any bugs or usability issues before the app is released to the public.
In the banking app, the testing team would test all aspects of the app, from login and registration to transactions and account management. They would also test the app's security features to ensure that user data is protected.
13. Implementing the solutions after testing:
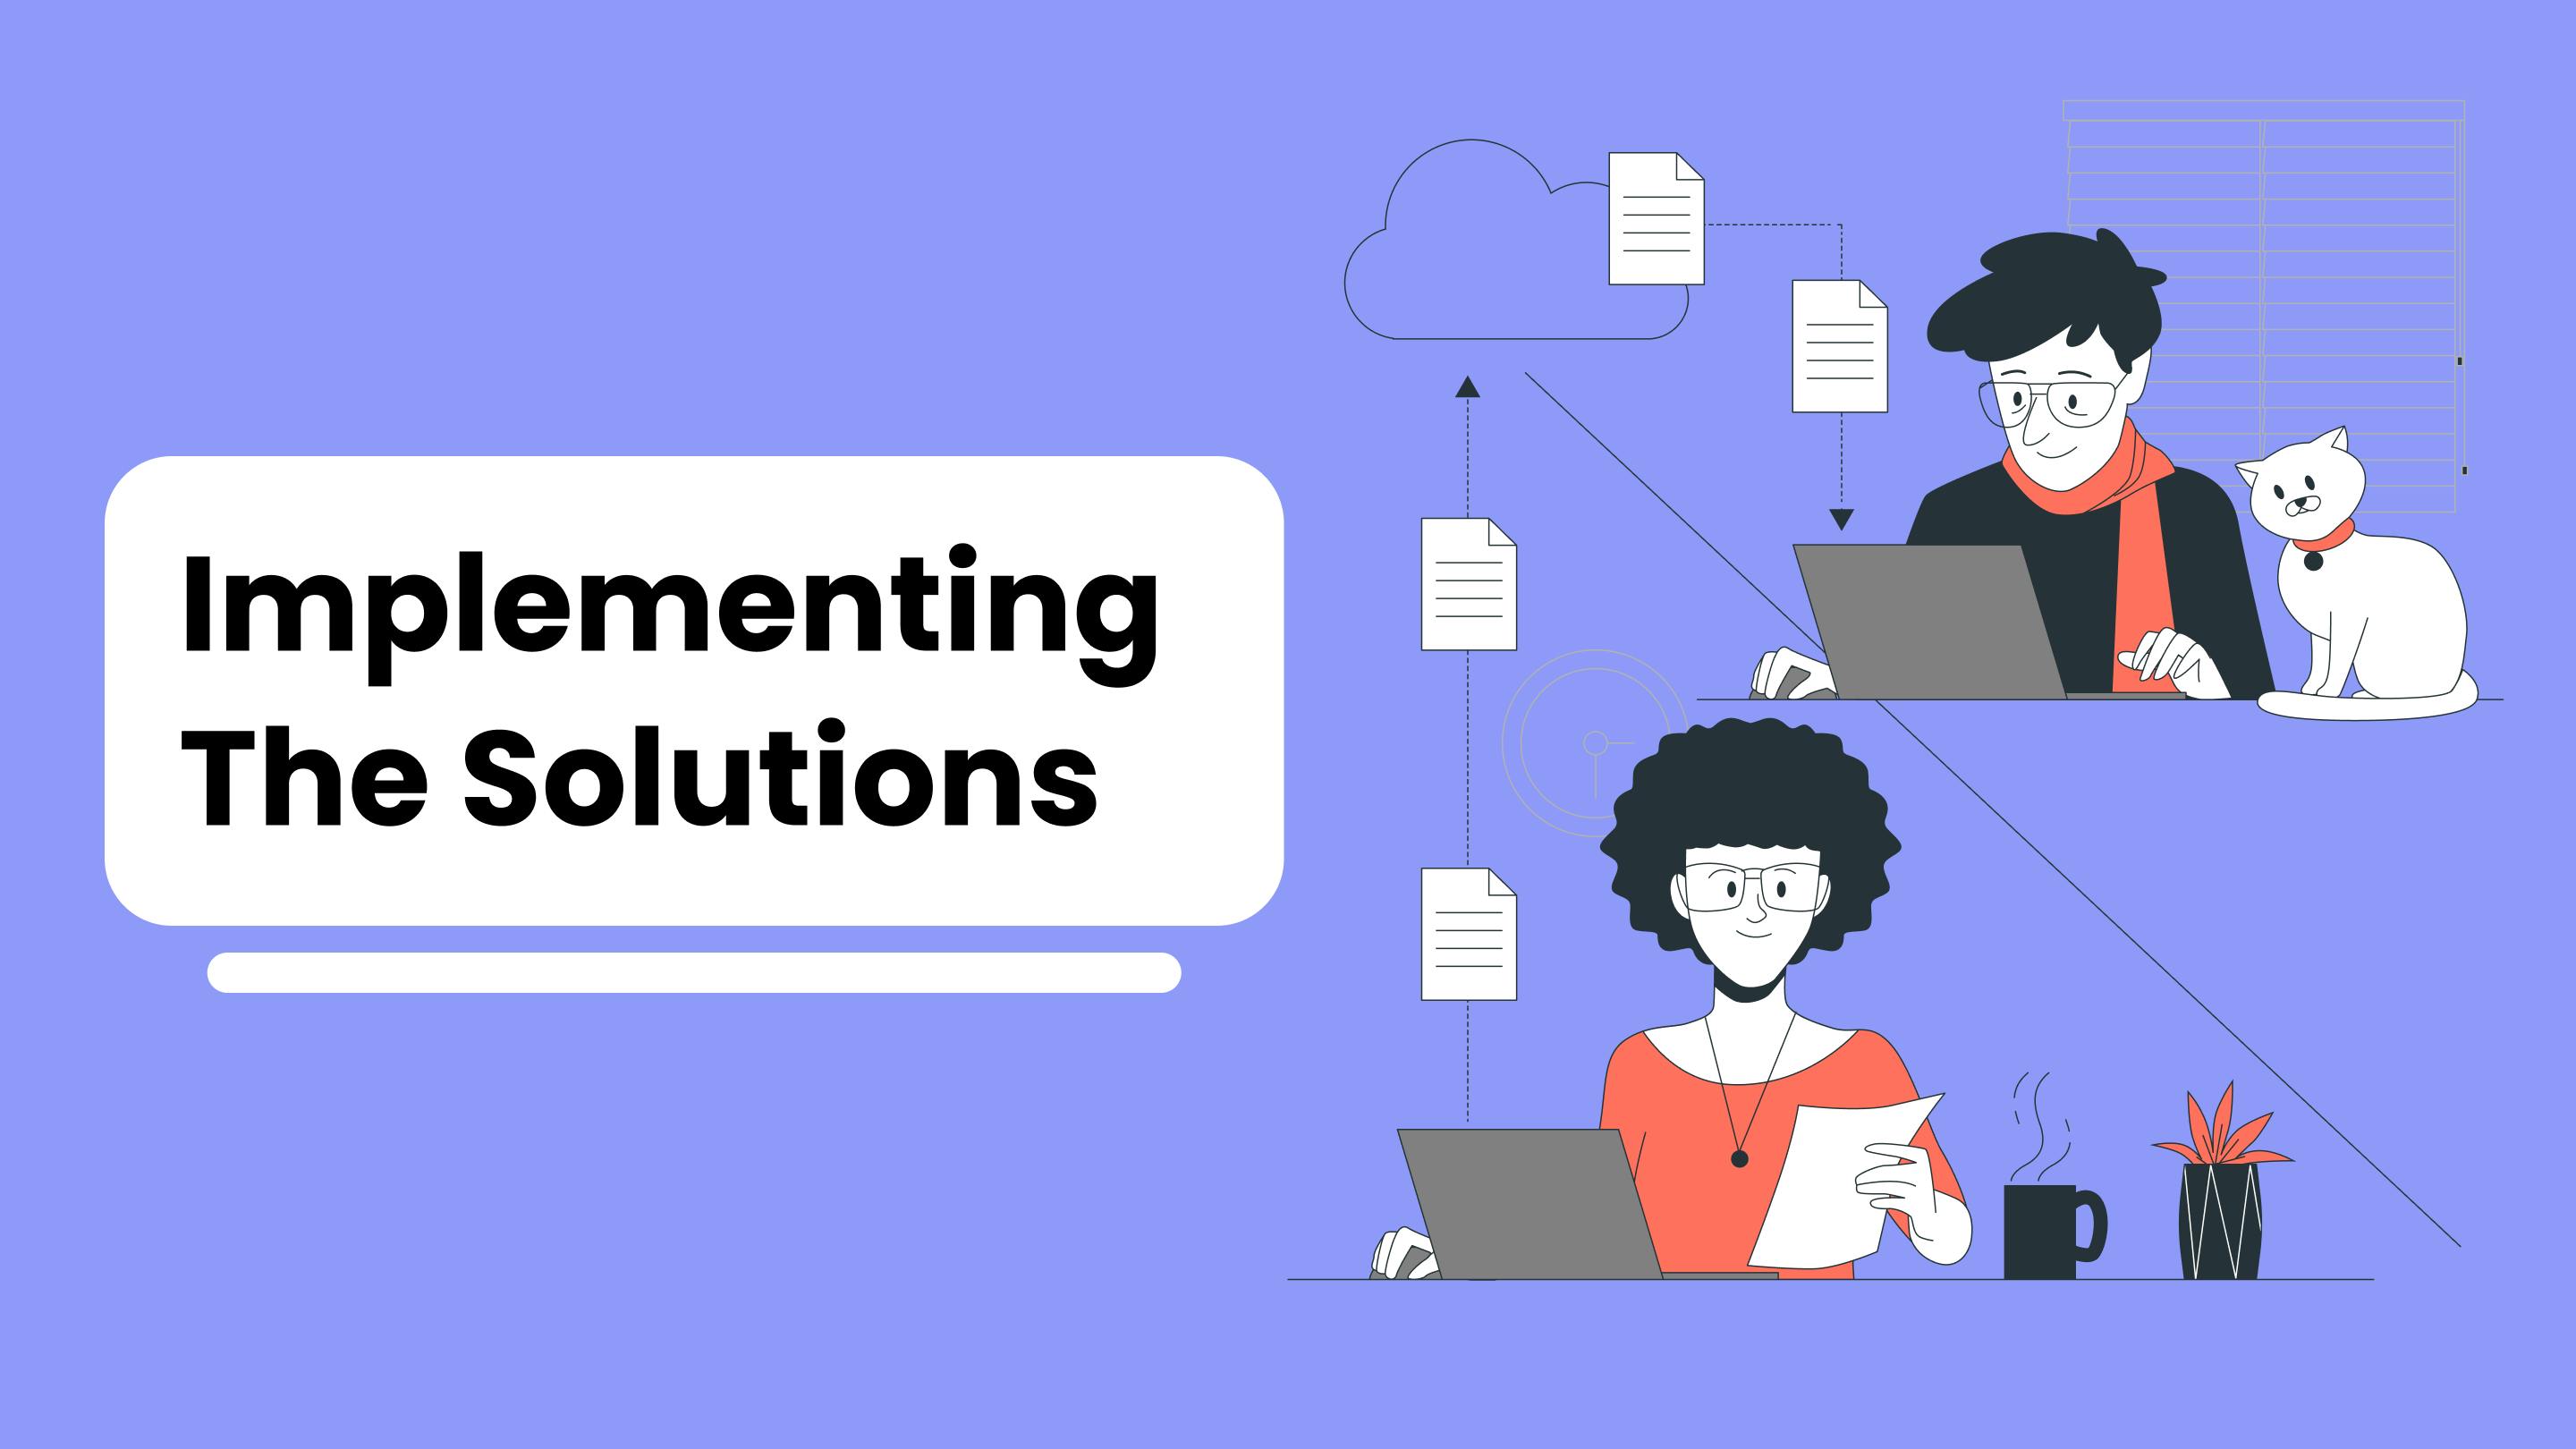
If any issues or bugs are found during testing, the design team and developers will work together to fix them. Once the issues are resolved, the app will be tested again to ensure that everything works as expected.
For example, if the testing team found that the app's navigation was confusing, the design team would work on improving the app's information architecture to make it easier to use. The developers would then implement these changes, and the app would be tested again.
In conclusion, the product development life cycle is a crucial process for creating a high-quality and usable product that meets the user's needs. It involves several steps, including defining the problem, identifying solutions, analyzing the competition and market demand, selecting user personas, creating a sitemap and information architecture, designing the user flow and journey, creating wireframes and prototypes, developing the product, testing it, and launching it. By following each of these steps, a product can be designed with the user in mind and optimized to meet their needs. The modified steps, including problem and goal definition, solution identification, competitor analysis, user persona selection and creation, sitemap and information architecture creation, user flow and journey design, wireframing and prototyping, actual design, coding, testing, and launching, provide a clear and actionable roadmap for product development that can be adjusted based on user feedback and needs.
In a nutshell, a product development life cycle helps to minimize risks and increase the chances of success in the market by ensuring that the end product meets the needs of the users and is of high quality.
By the way, If you're interested in UI/UX design or web development services, feel free to reach out to me. As a professional UI/UX designer and web developer, I am always happy to help. And don't forget to follow me on social media for more blogs like this.